
Custom Fields
1. Introduction

2. Click "Strategy"
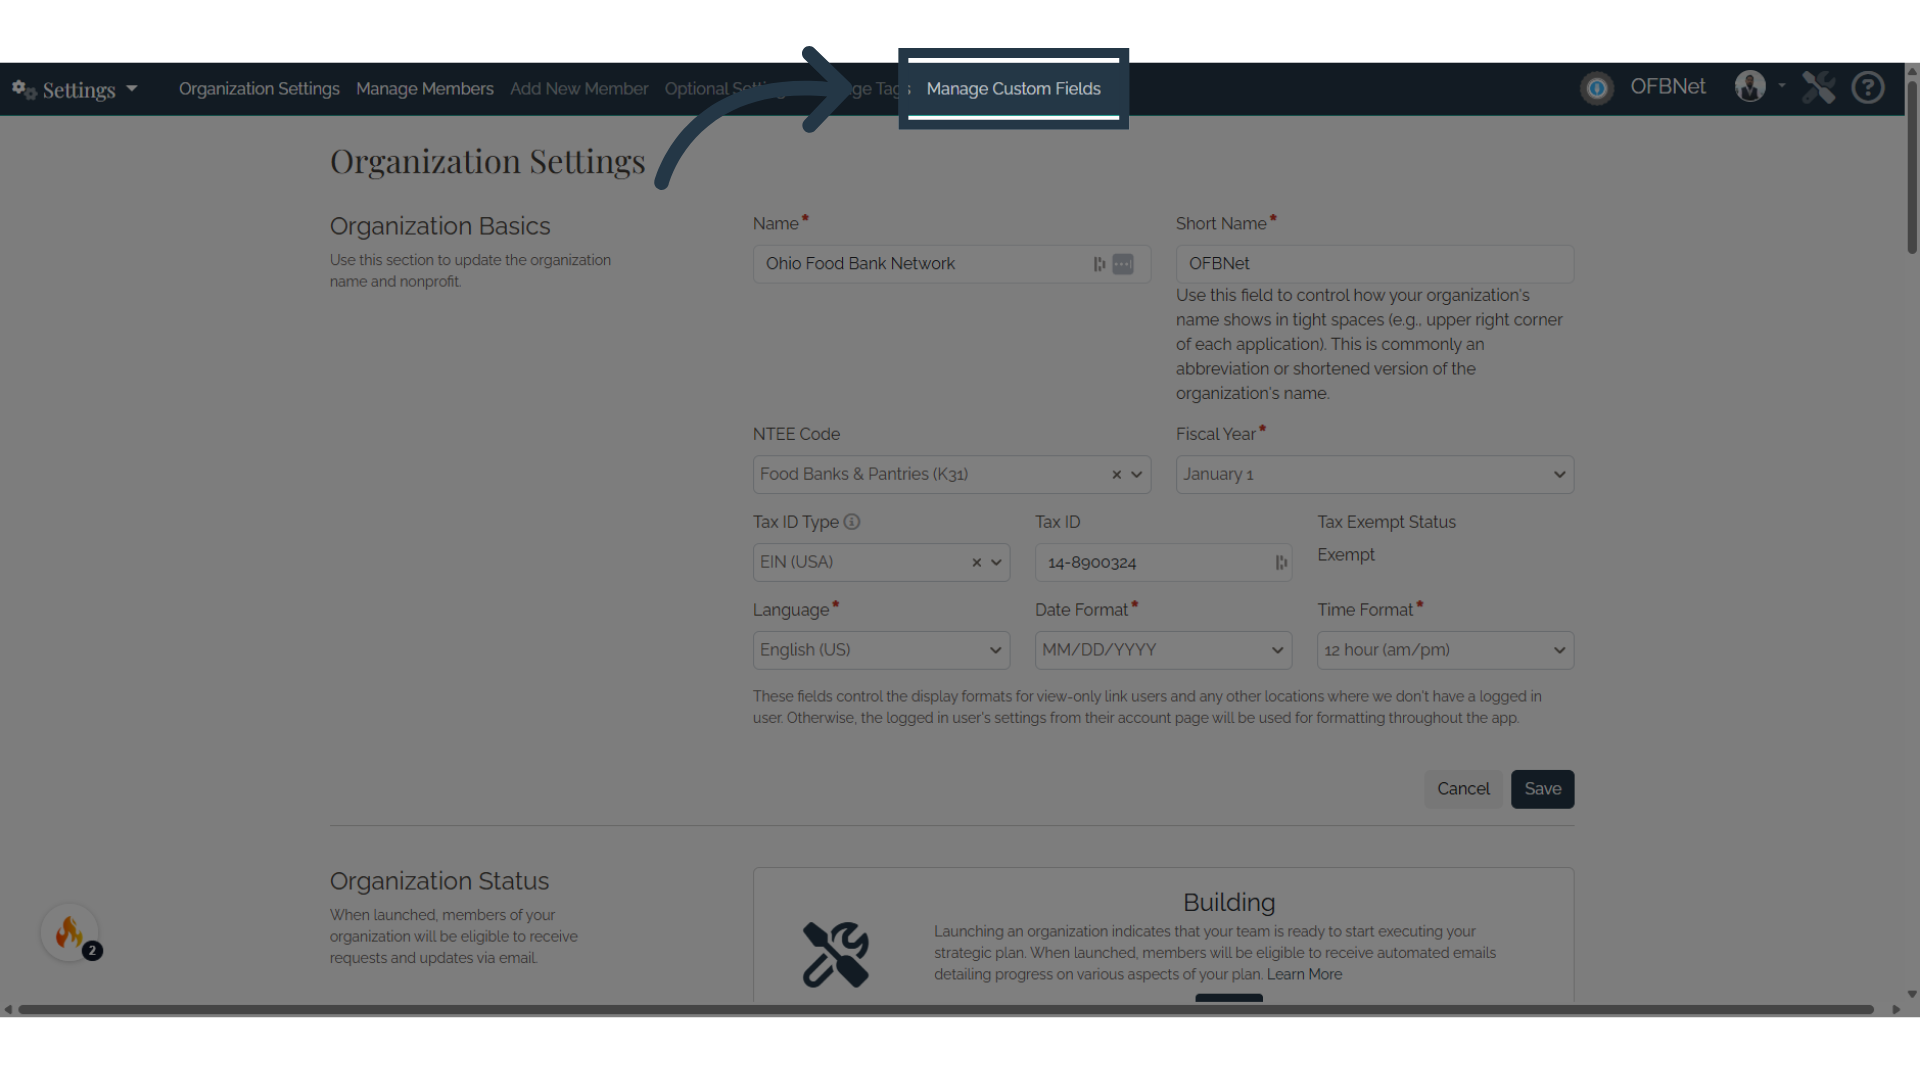
3. Click "Settings"

4. Click "Manage Custom Fields"
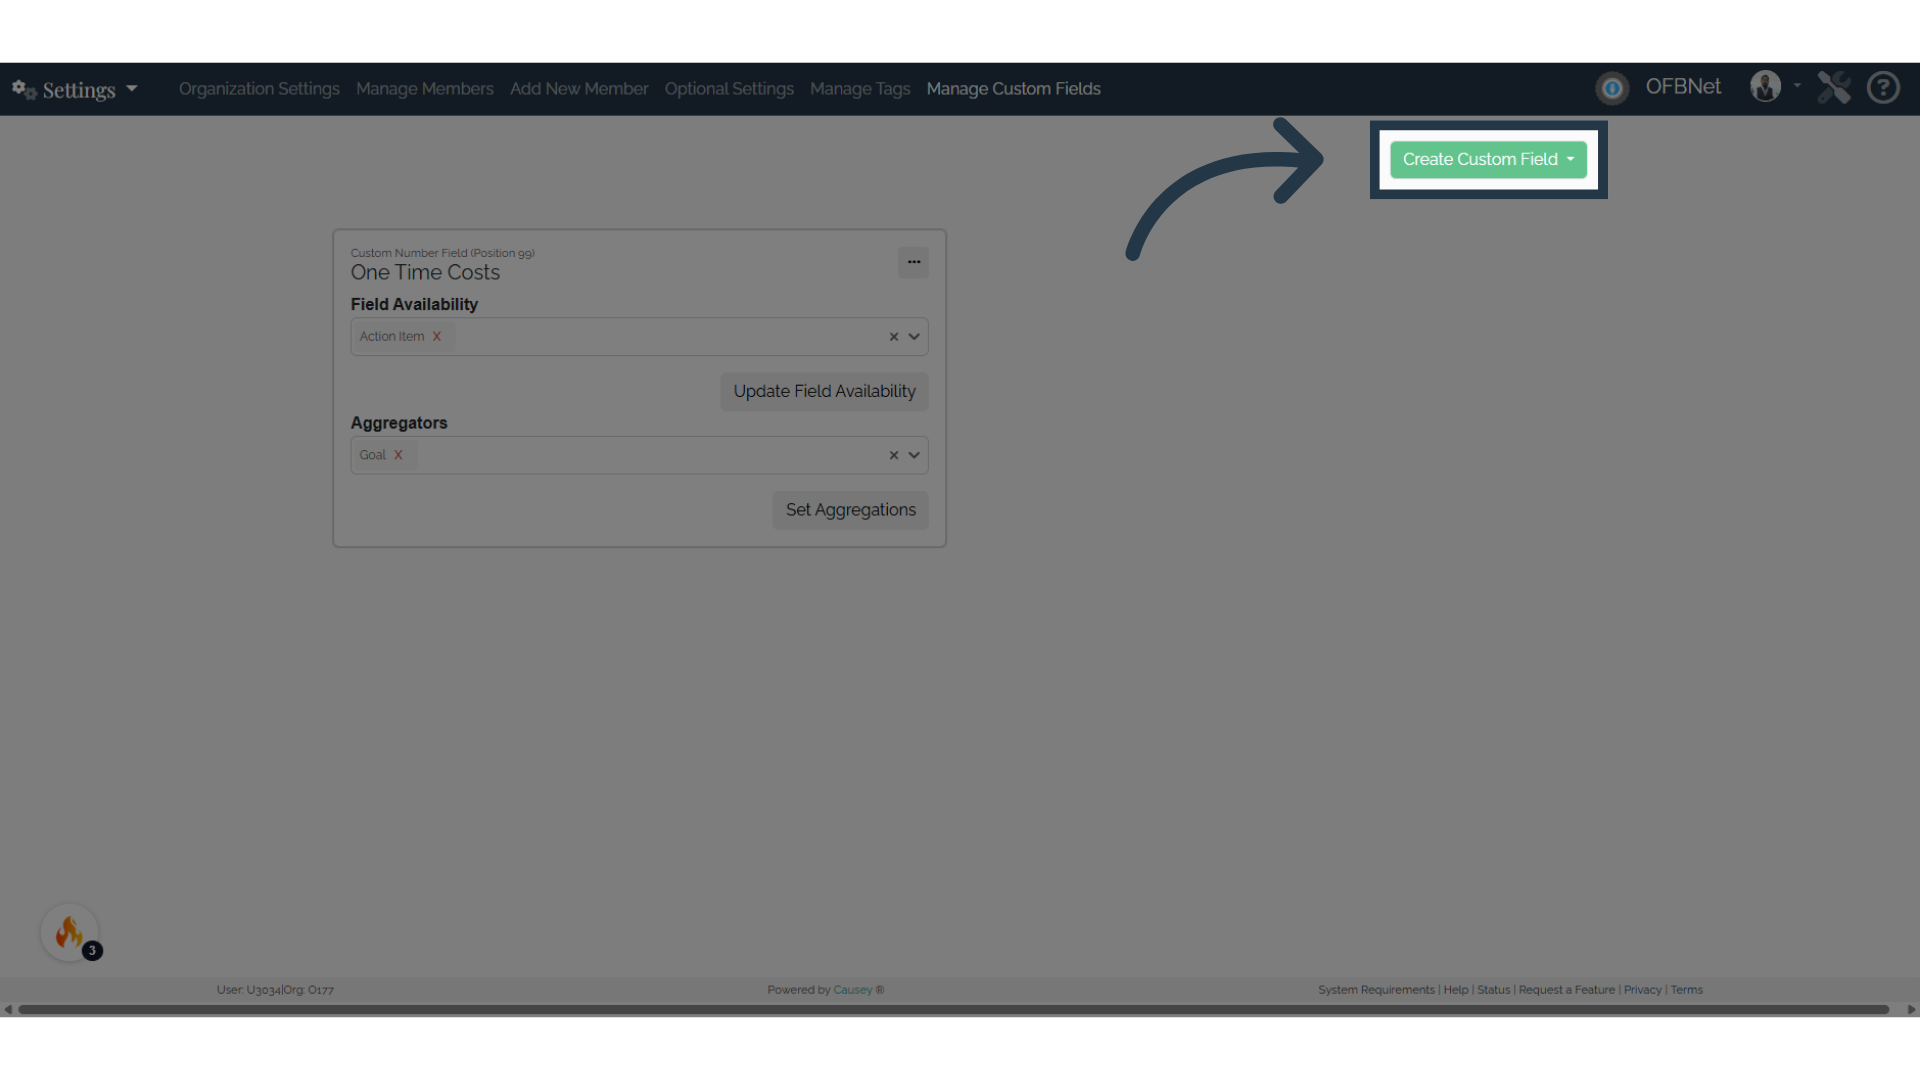
5. Click "Create Custom Field"
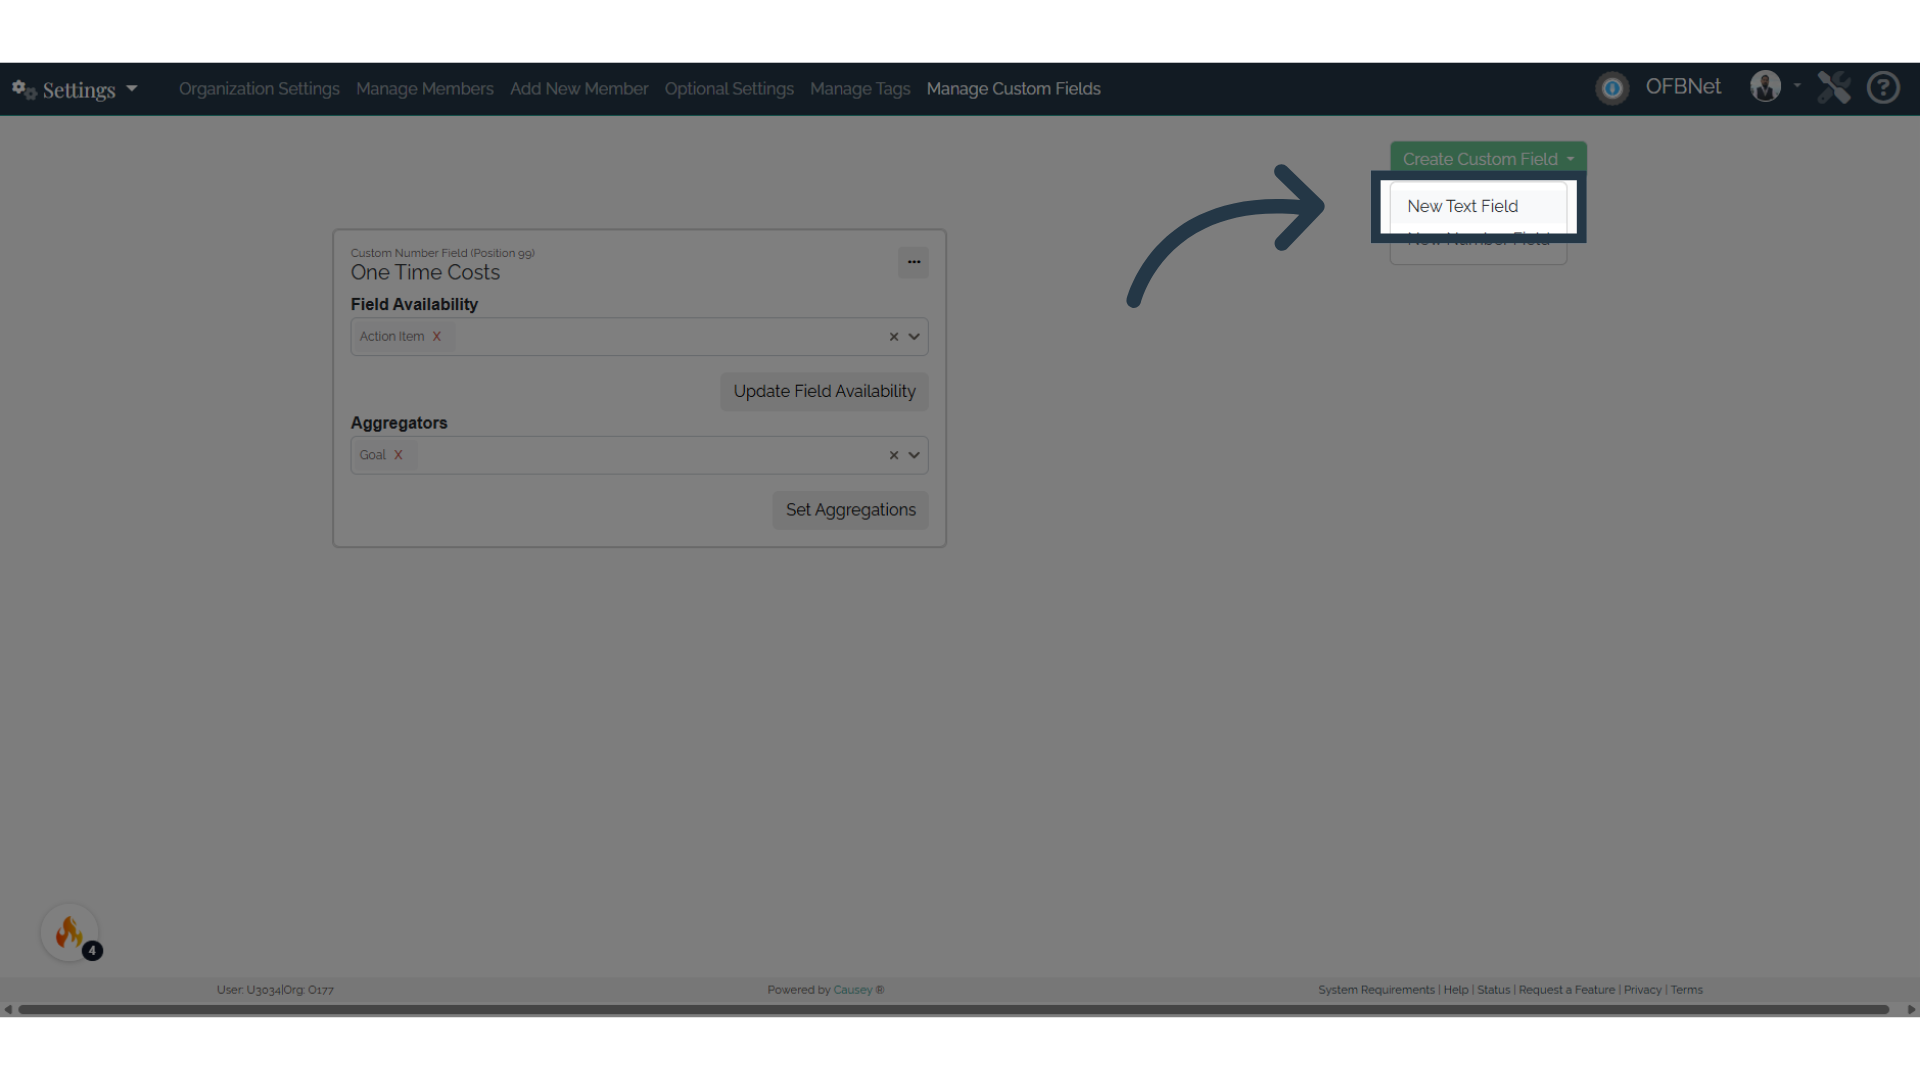
6. Click "New Text Field"
7. Fill out the form to create your custom field.
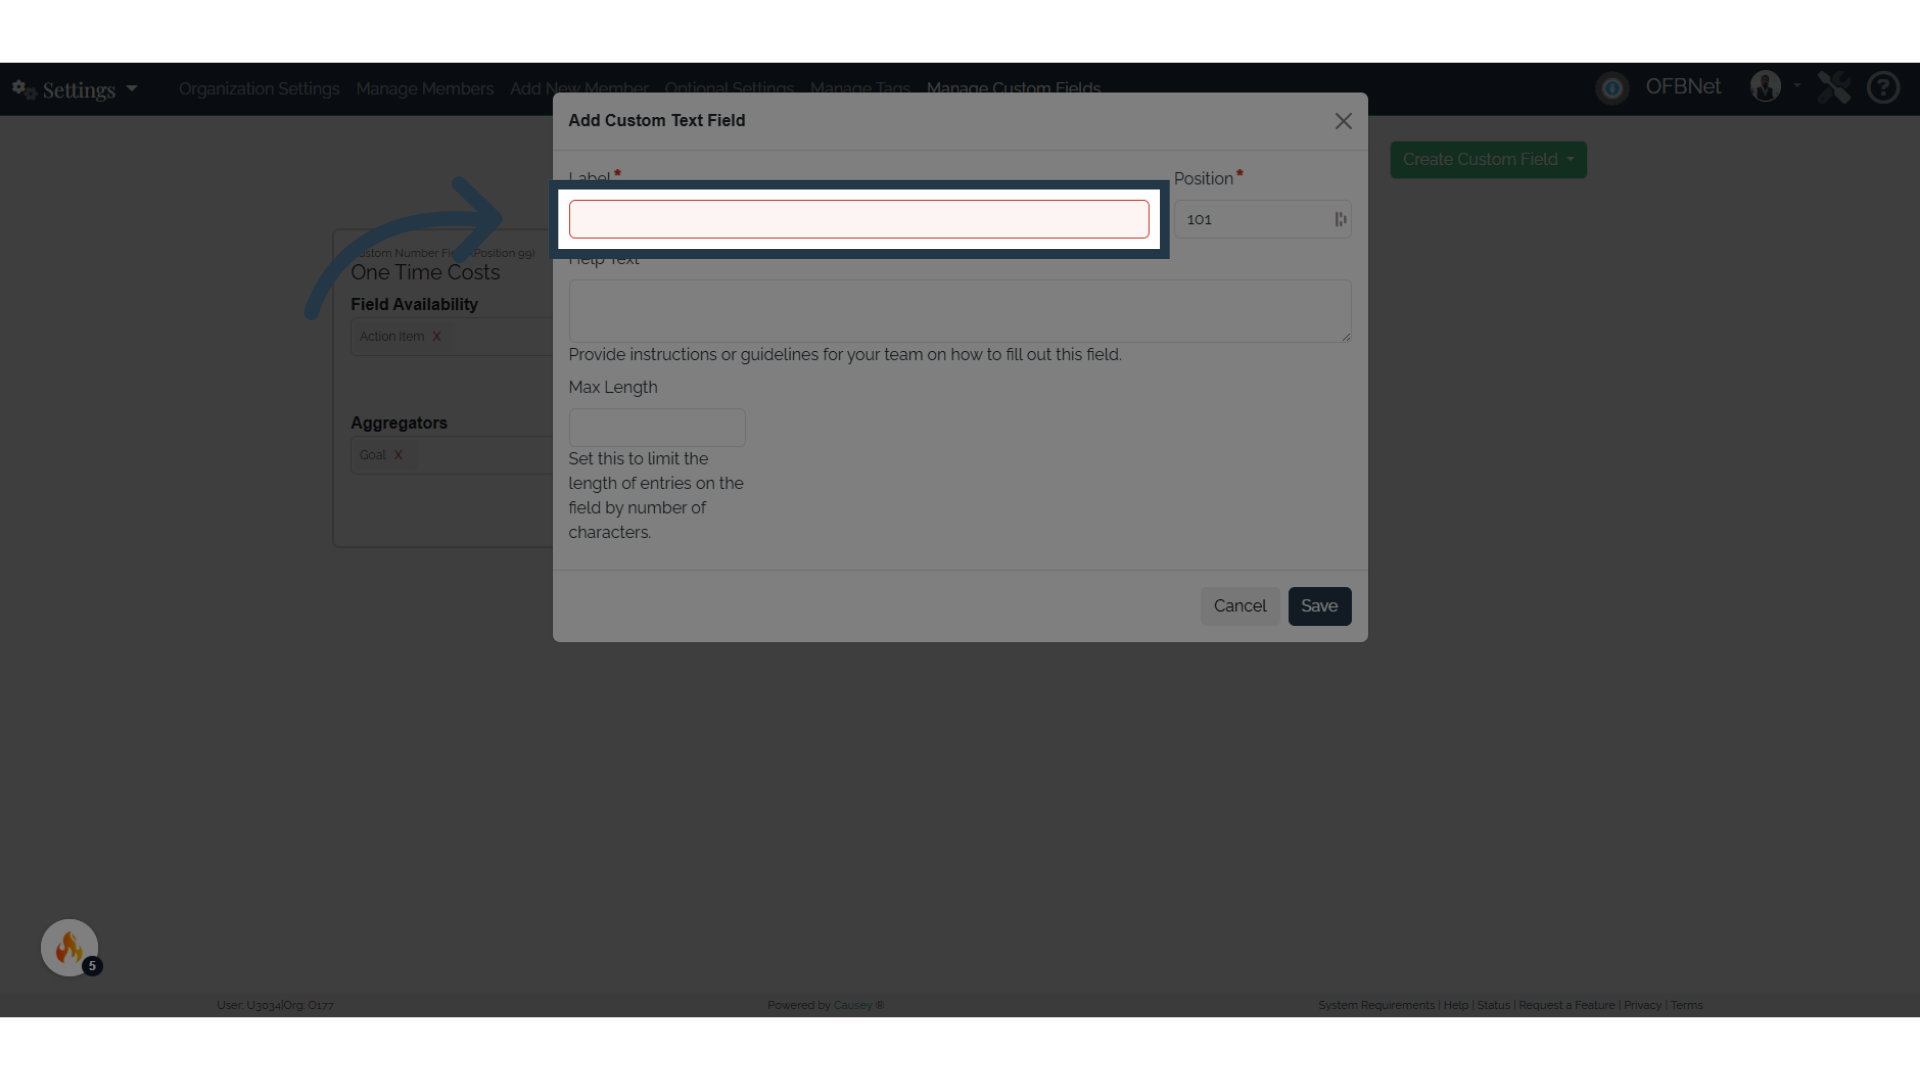
Label: The "name" of your custom field, this will be how the field shows up on your plan.
Help Text: This text will appear in places where your team members provide values for the field. Use it to provide helpful guidance on how they should complete it.
For Number Fields:
Unit Type: Give a unit that the value corresponds to.
Unit Placement: Choose whether the unit should appear before or after the value ($50 or 50%).
Minimum Value (optional): Set a minimum value for your number field.
Maximum Value (optional): Set a maximum value for your number field.
For Text Fields:
Maximum Length (optional): Set a maximum number of characters for your text field.

8. Click "Save"

9. Choose where the field is present in your plan
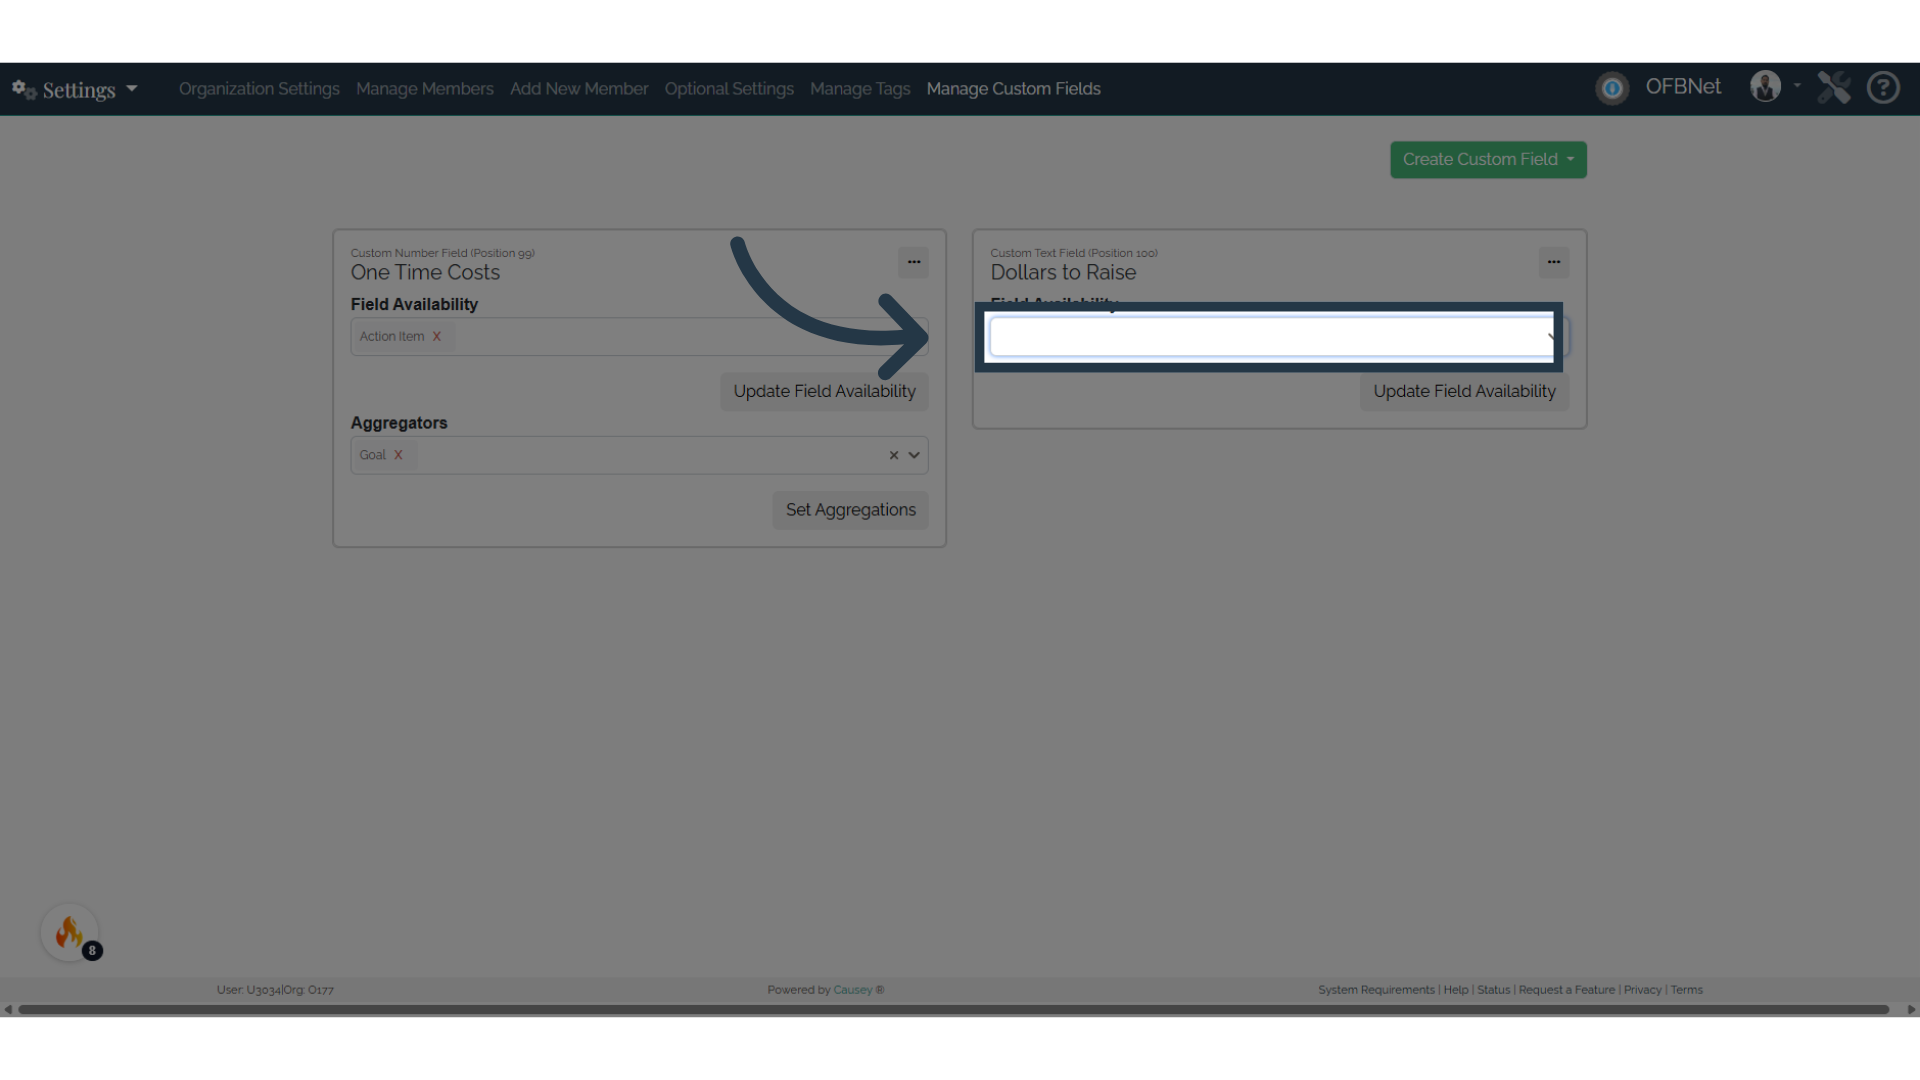
10. Click "Update Field Availability"
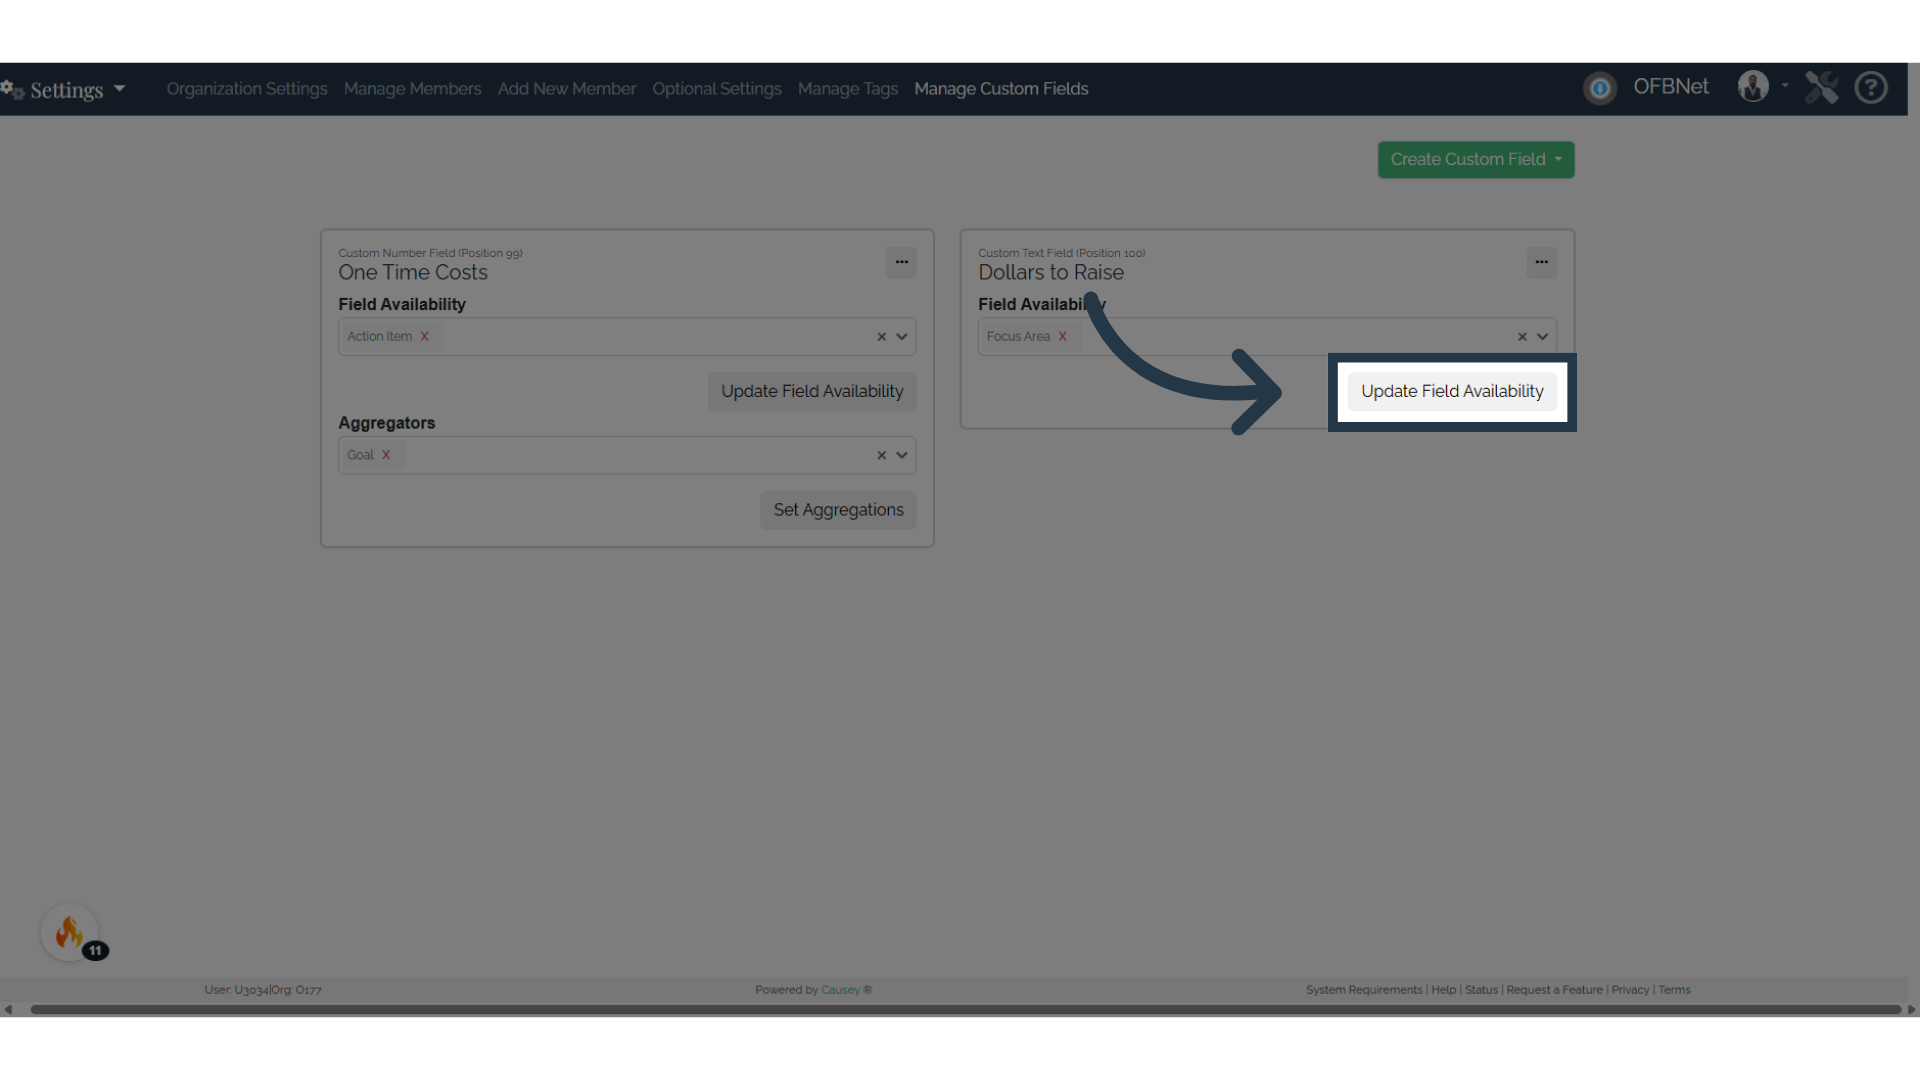
This will give a number of options such as "Goal" or "Focus Area". Pick any and all where you want that field to appear. Once you have selected your desired locations for that field, you will find your custom field available on those items.
Using Aggregators
For Custom Number Fields, an additional feature is available: Aggregators. By setting these, we allow you to combine a range of custom number fields and represent that combined value in different places on the plan.
For example, say you had a custom field called "One Time Costs" which is a $ value available on every action item in your plan. Once set, you can edit any action item and see this custom field as an element.

Once a cost is saved, it will display with the Action Item.

If you would like to see the total combined value of all the One Time Costs on every action item for a given Goal, this can be achieved by setting "Goal" as an aggregator on the One Time Costs custom field.
