Create and Manage Action Items
1. Introduction
Action Items support progress toward a Goal. This article explains how to create and manage them.
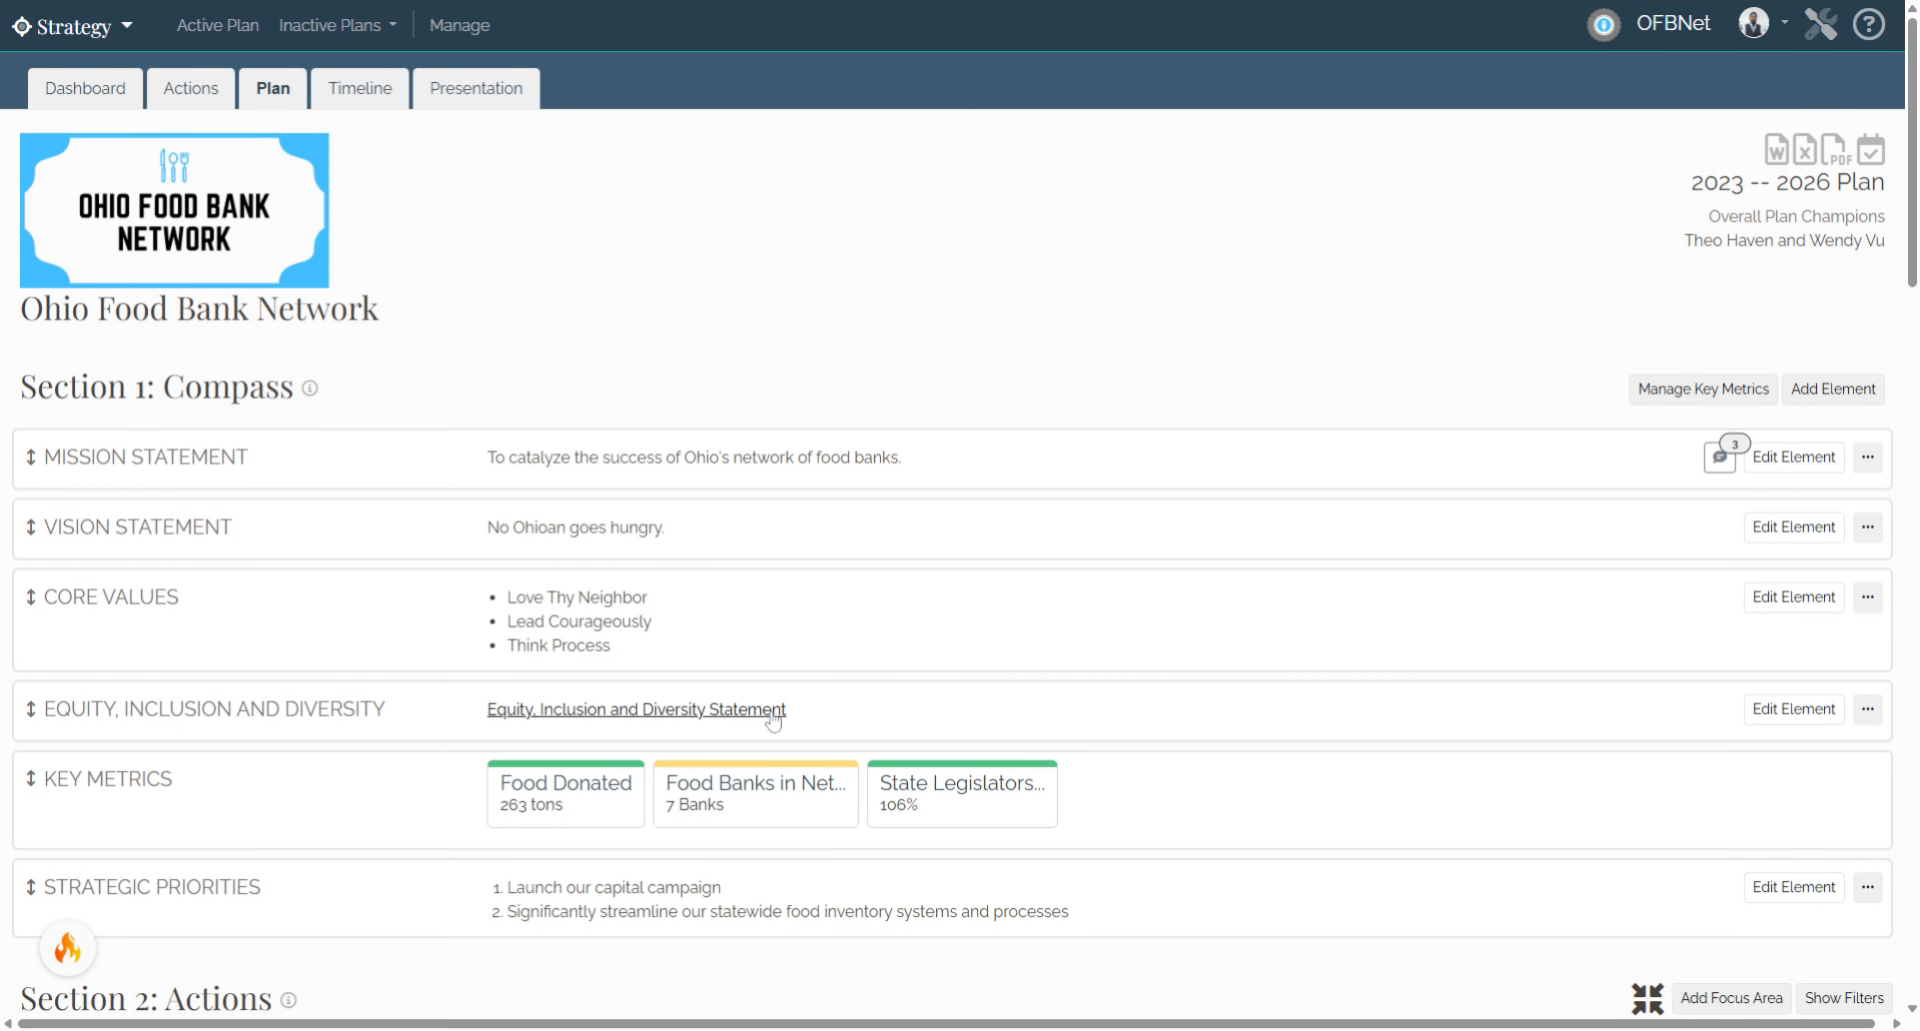
2. Section 2: Actions
In the Strategy page, scroll down to Section 2: Actions.
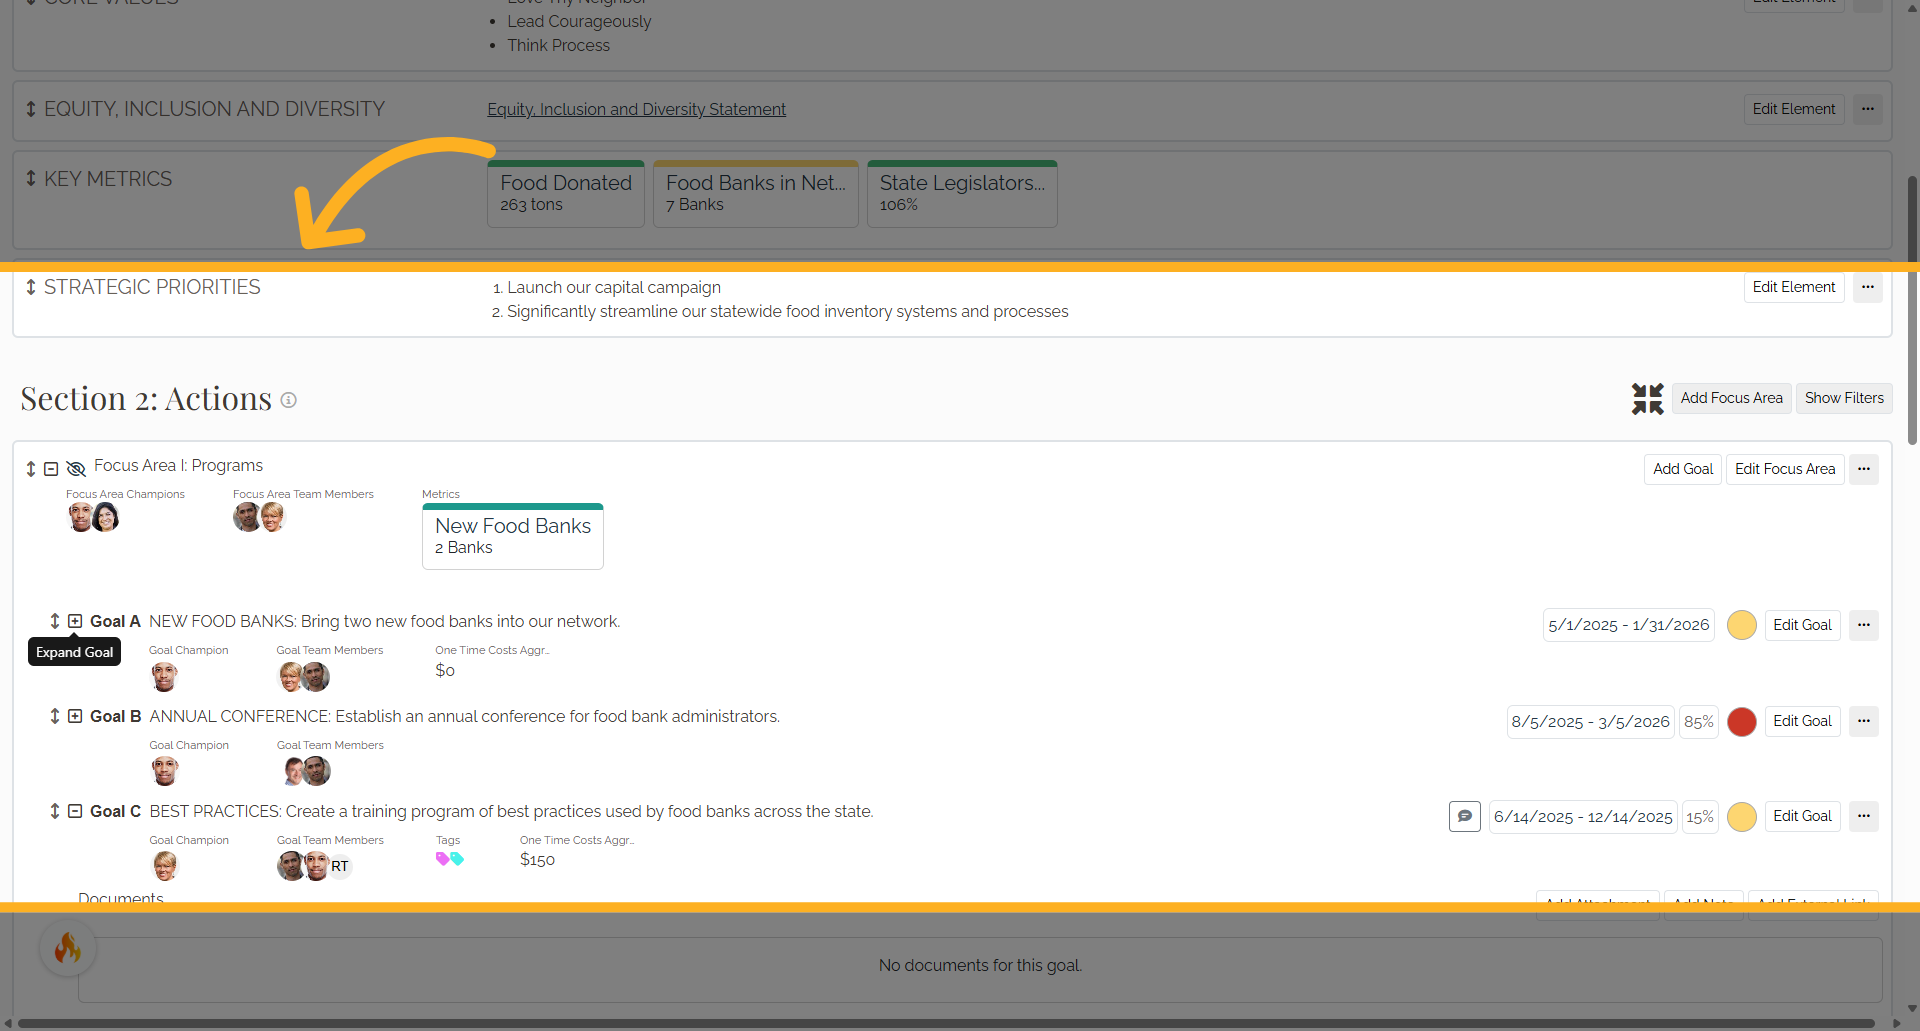
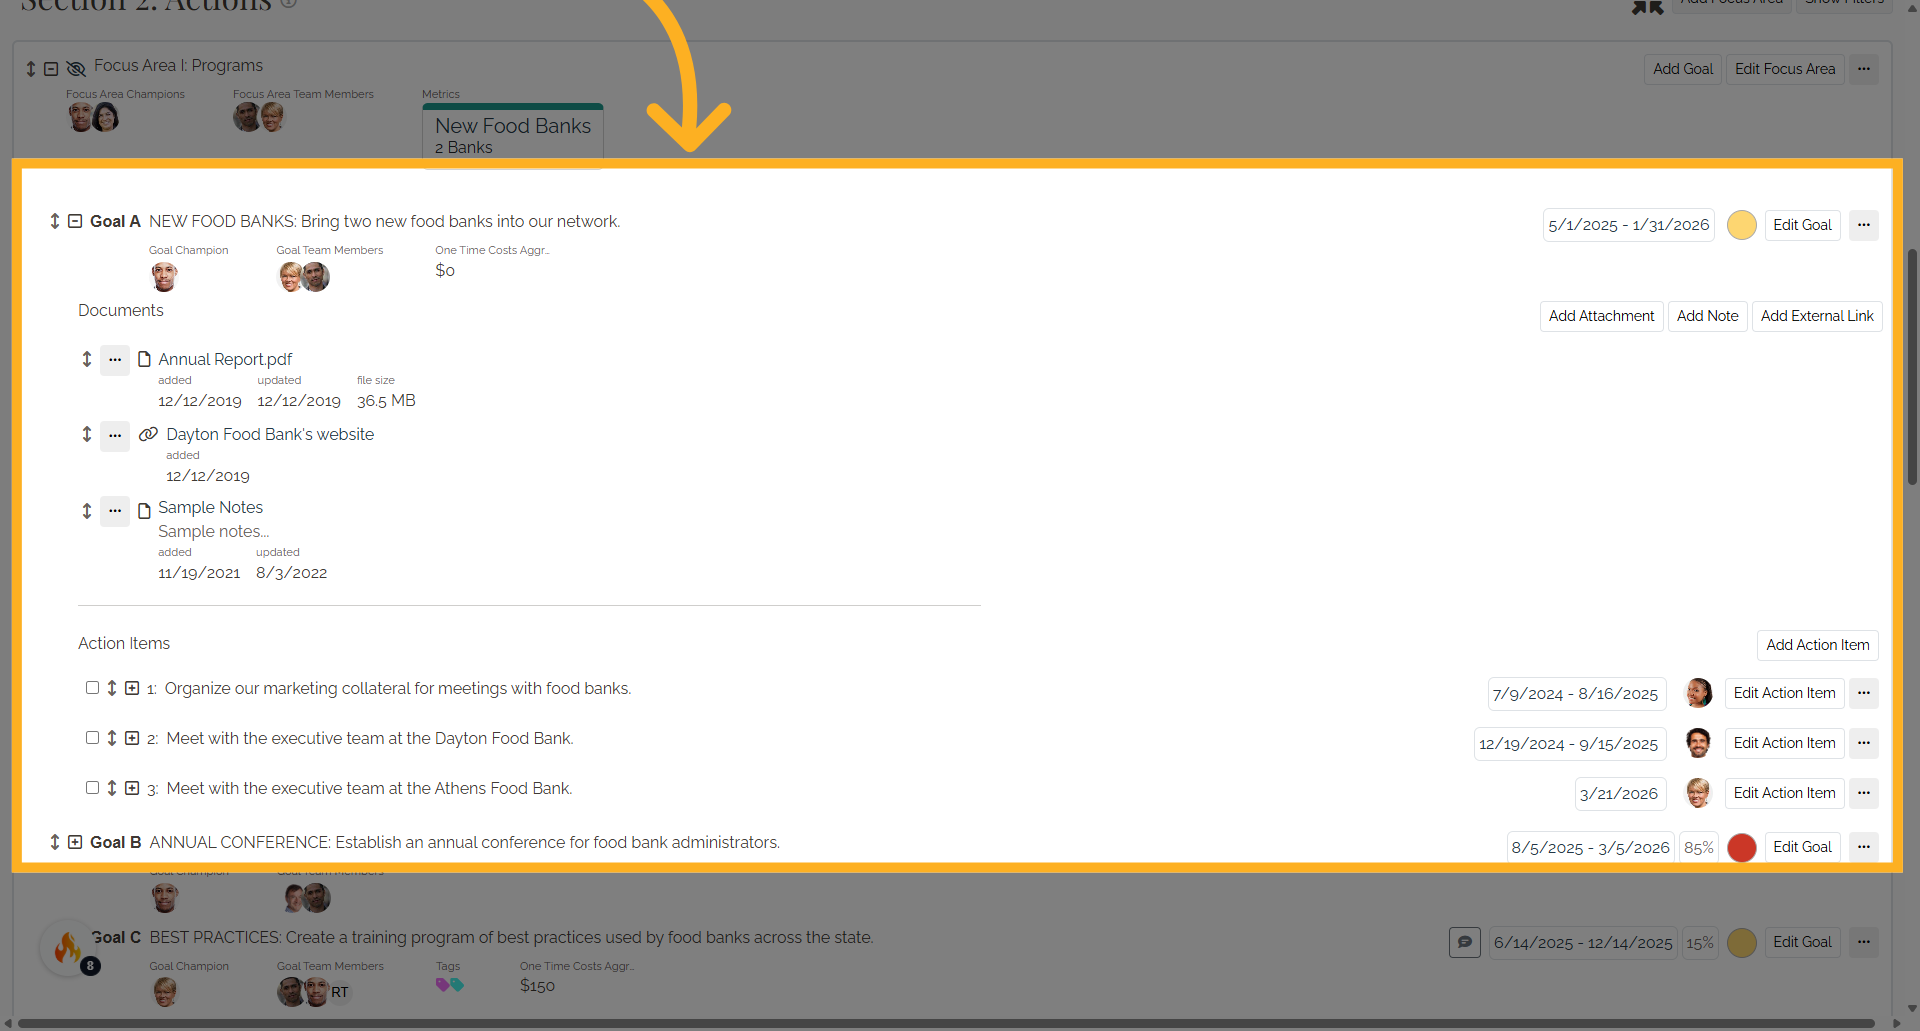
3. Expand the Focus Area and Goal
Expand the Focus Area and Goal you want to work with by clicking their (+) icons.
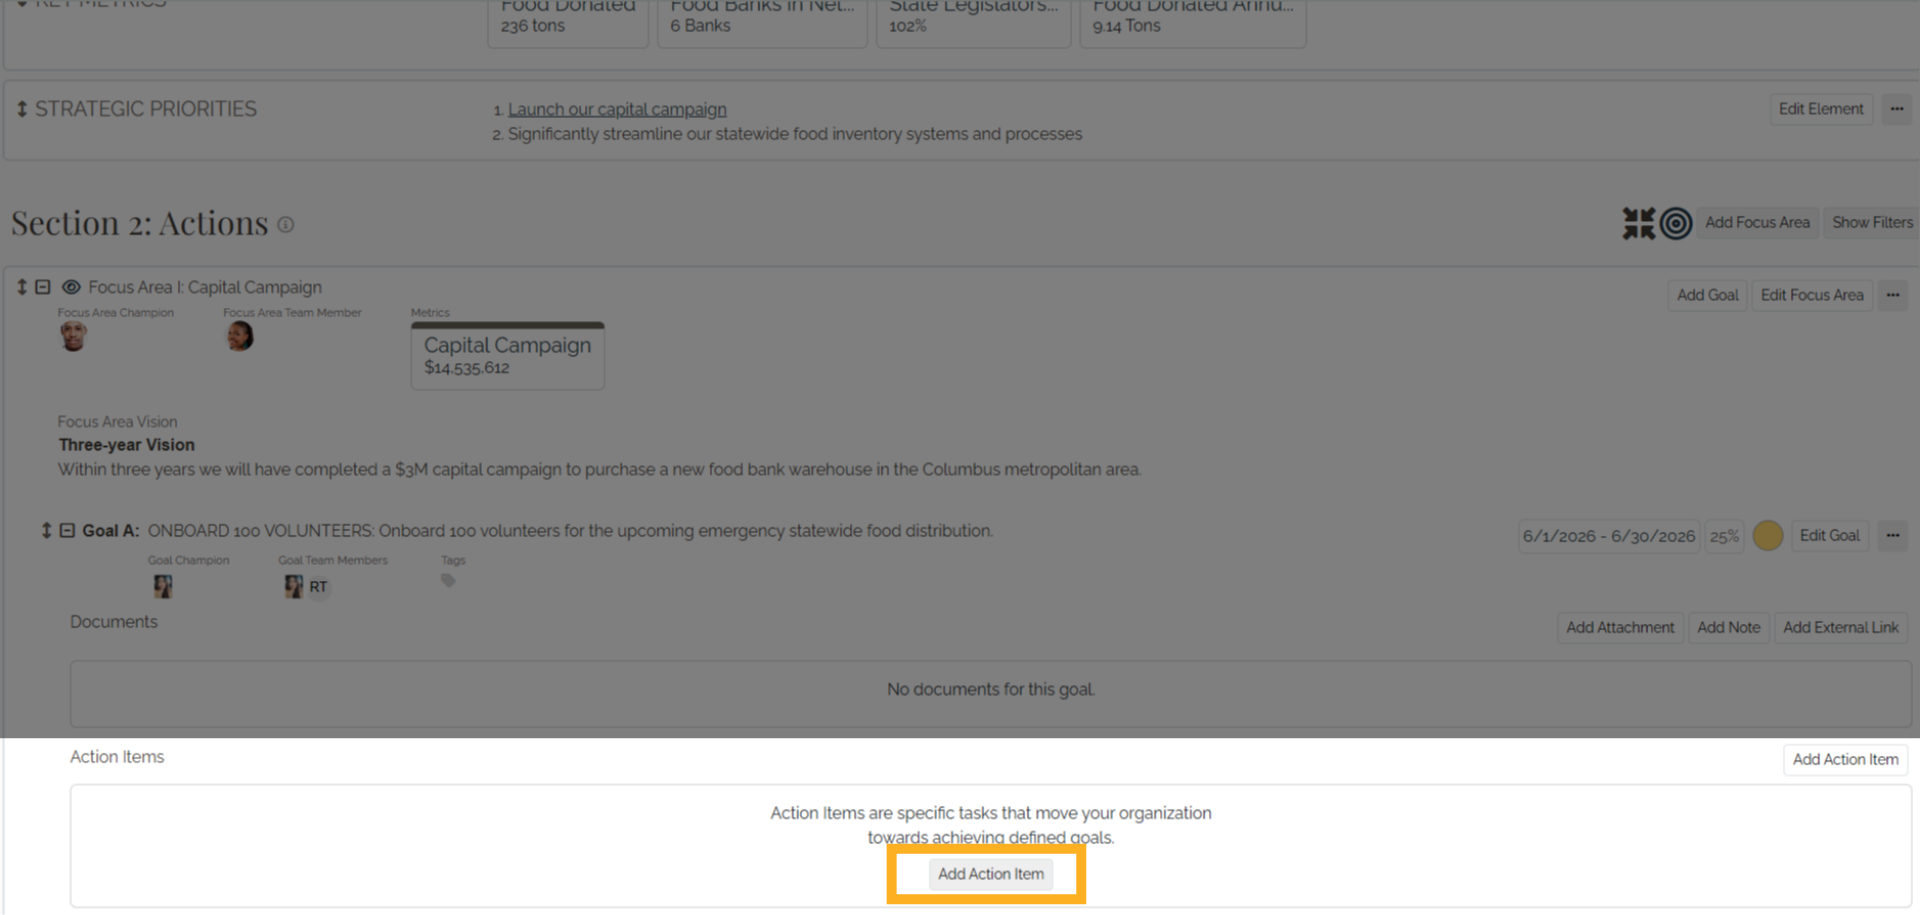
4. Create an Action Item
If no Action Items currently exist for the Goal, click Add Action Item within the Action Items section.
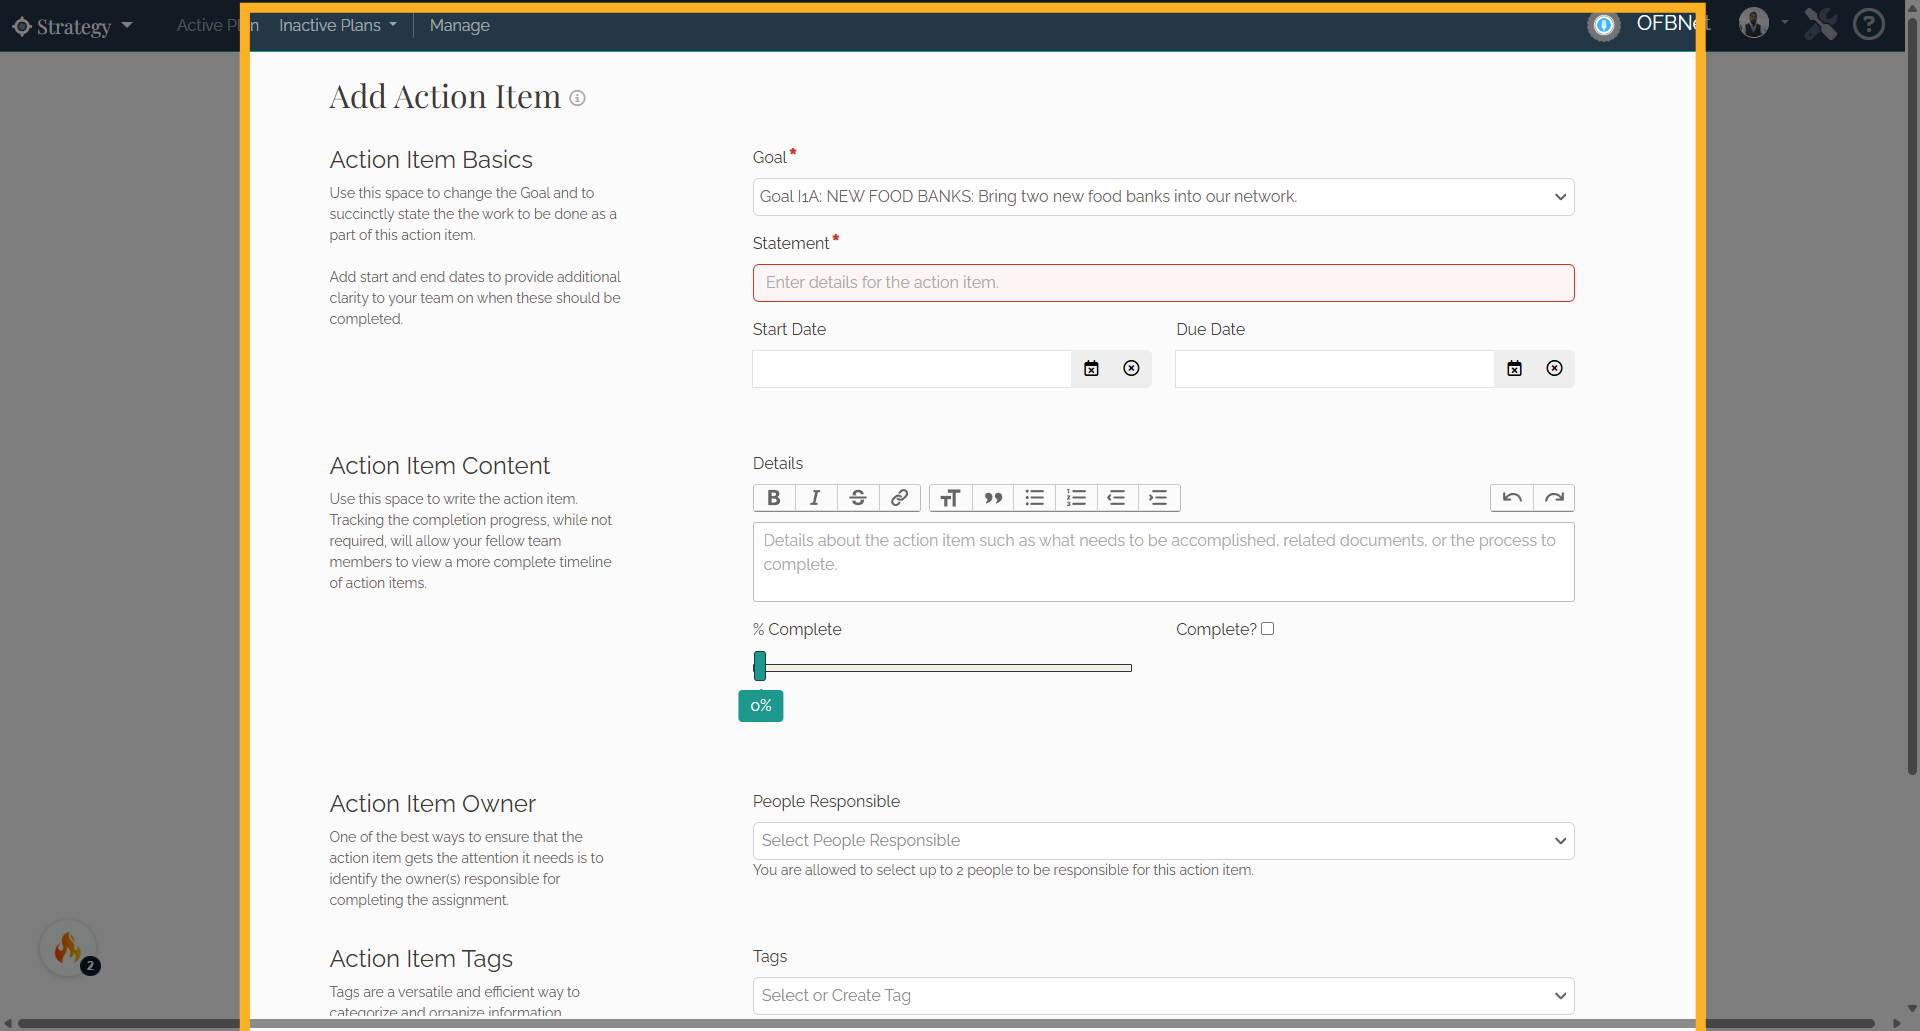
5. Name the Action Item
Confirm you are adding the Action Item in the correct goal. Enter a name for the Action Item in the Statement field, then select the Start and Due Dates.
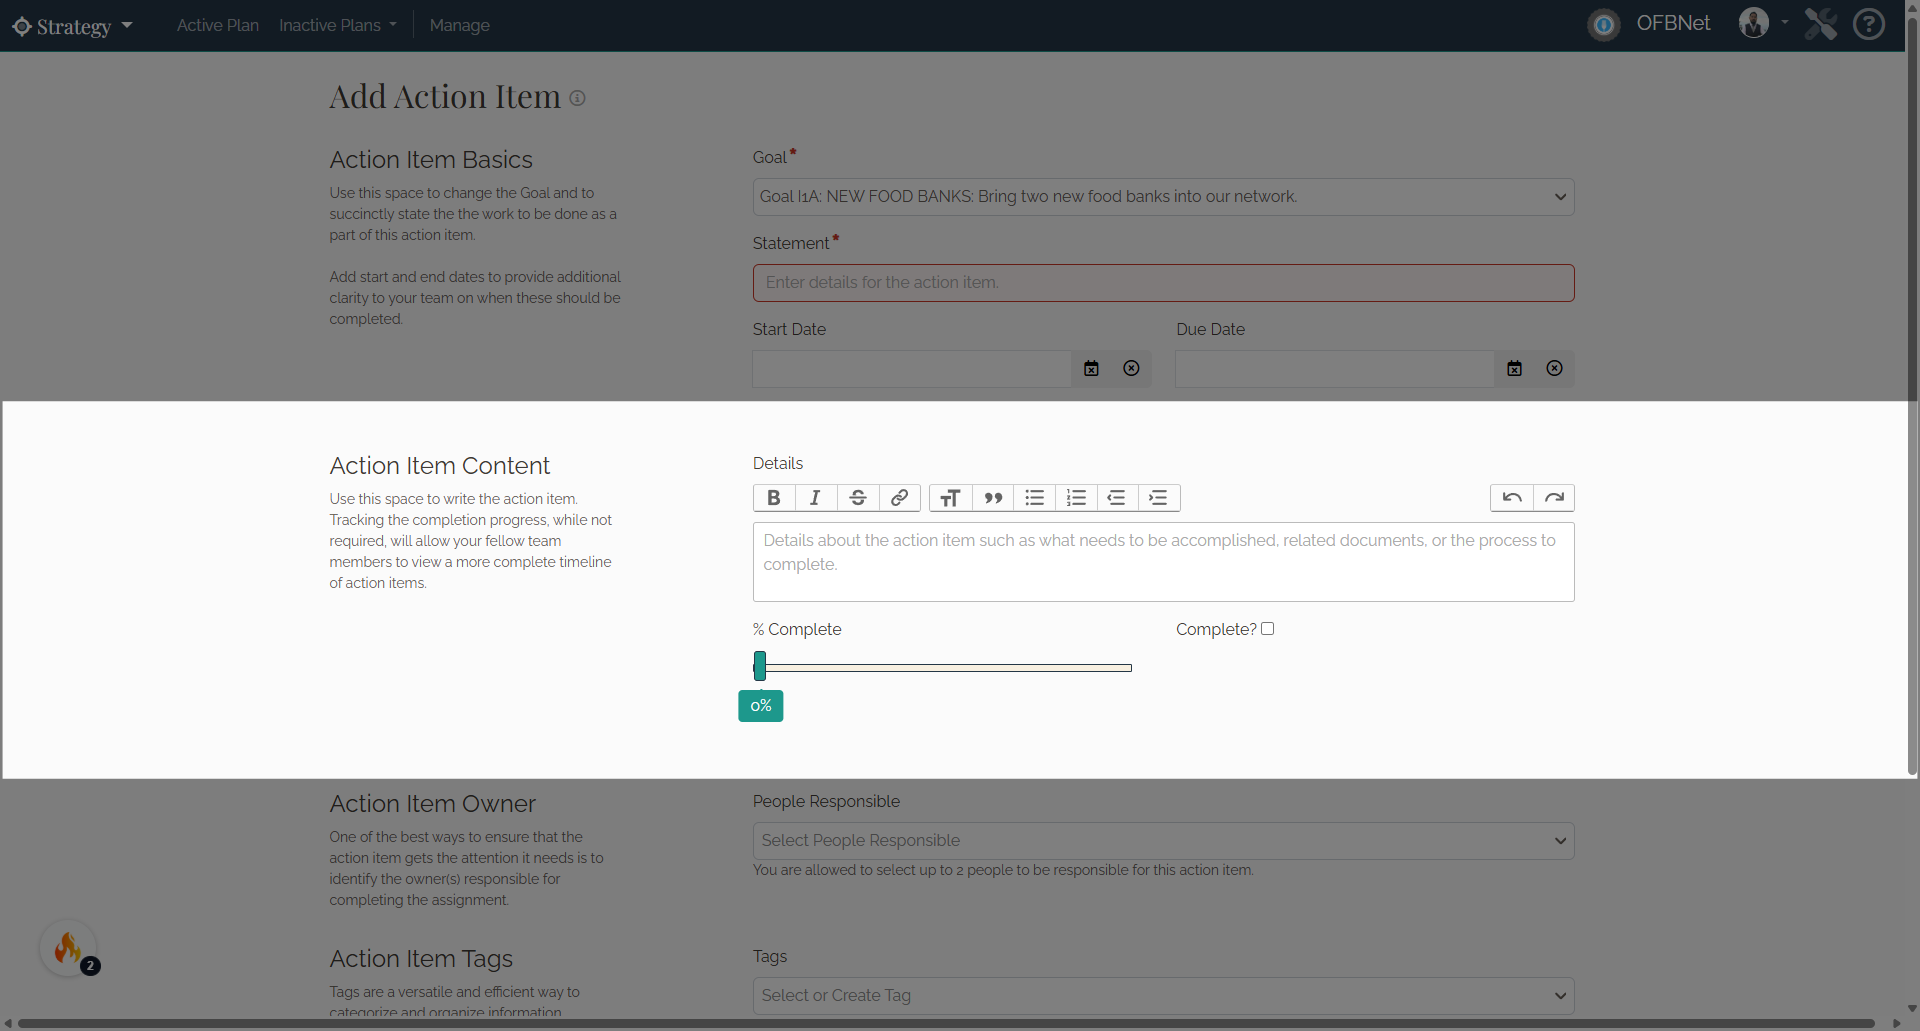
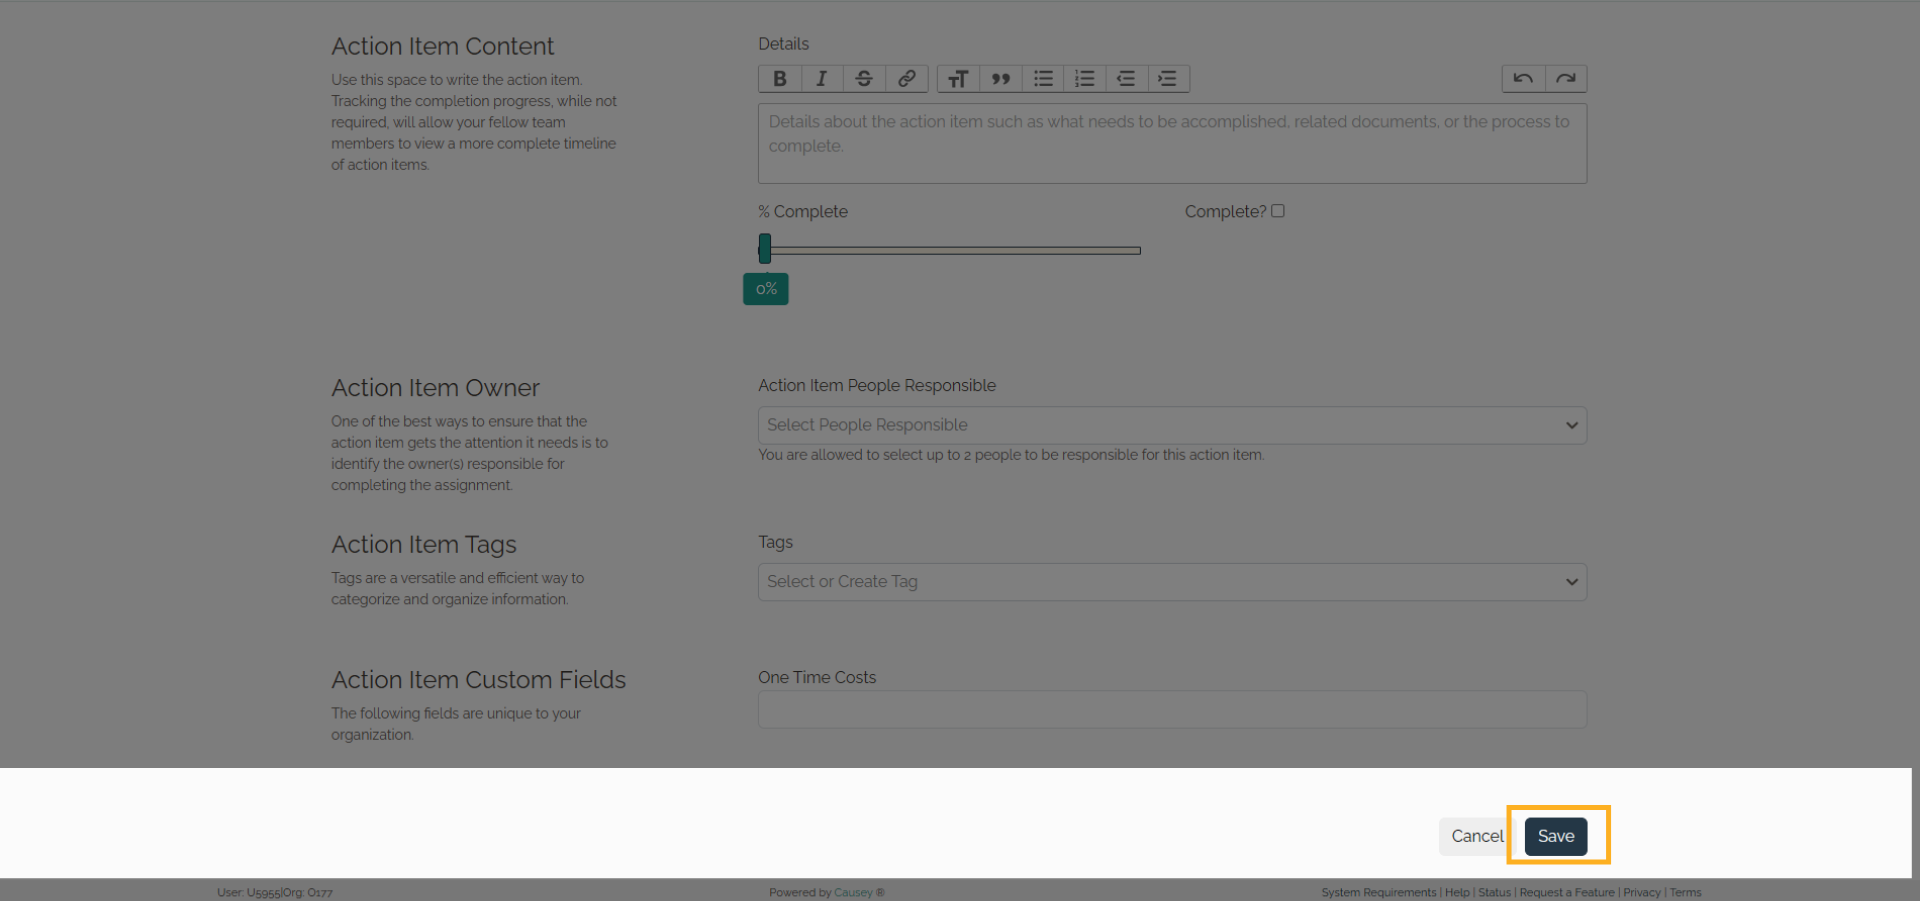
6. Action Item Content
Enter the Action Item details, track progress using the % Complete slider, and select Complete when finished.
7. Action Item Owner
Assign an Action Item Owner. You can assign up to 2 owners for each action item.
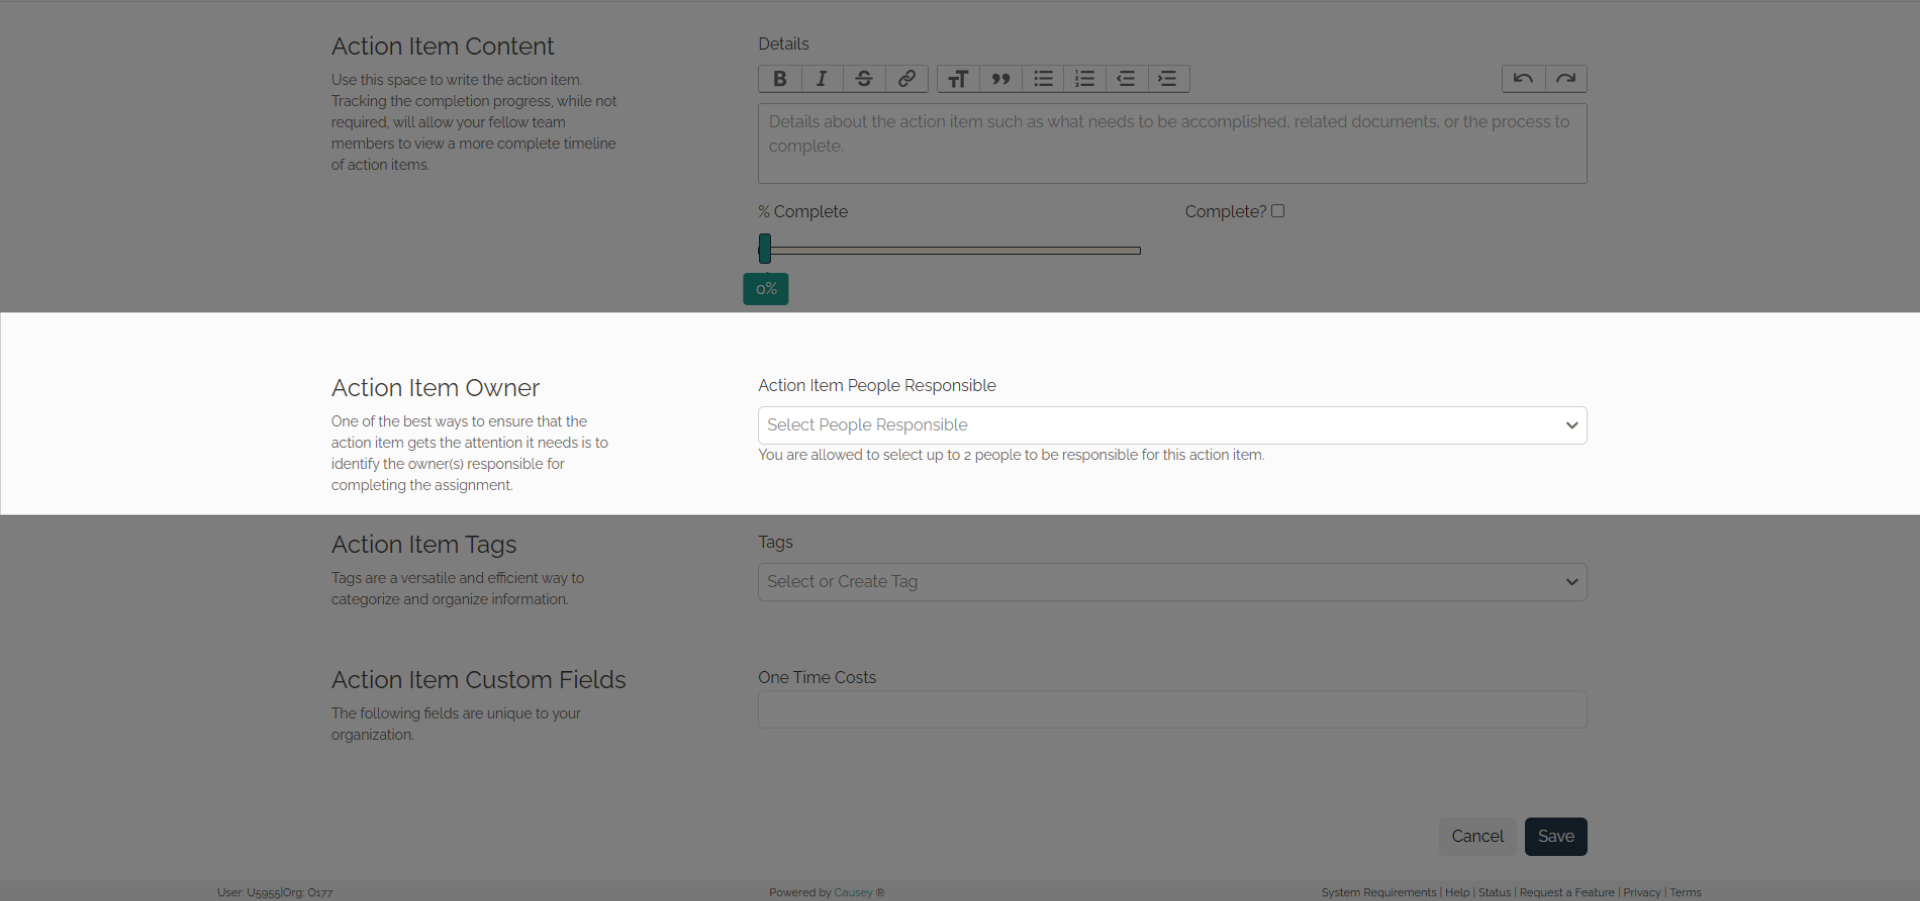
8. Action Item Tag and Custom Fields
Add Tags and complete any available Custom Fields to help organize and categorize the Action Item.
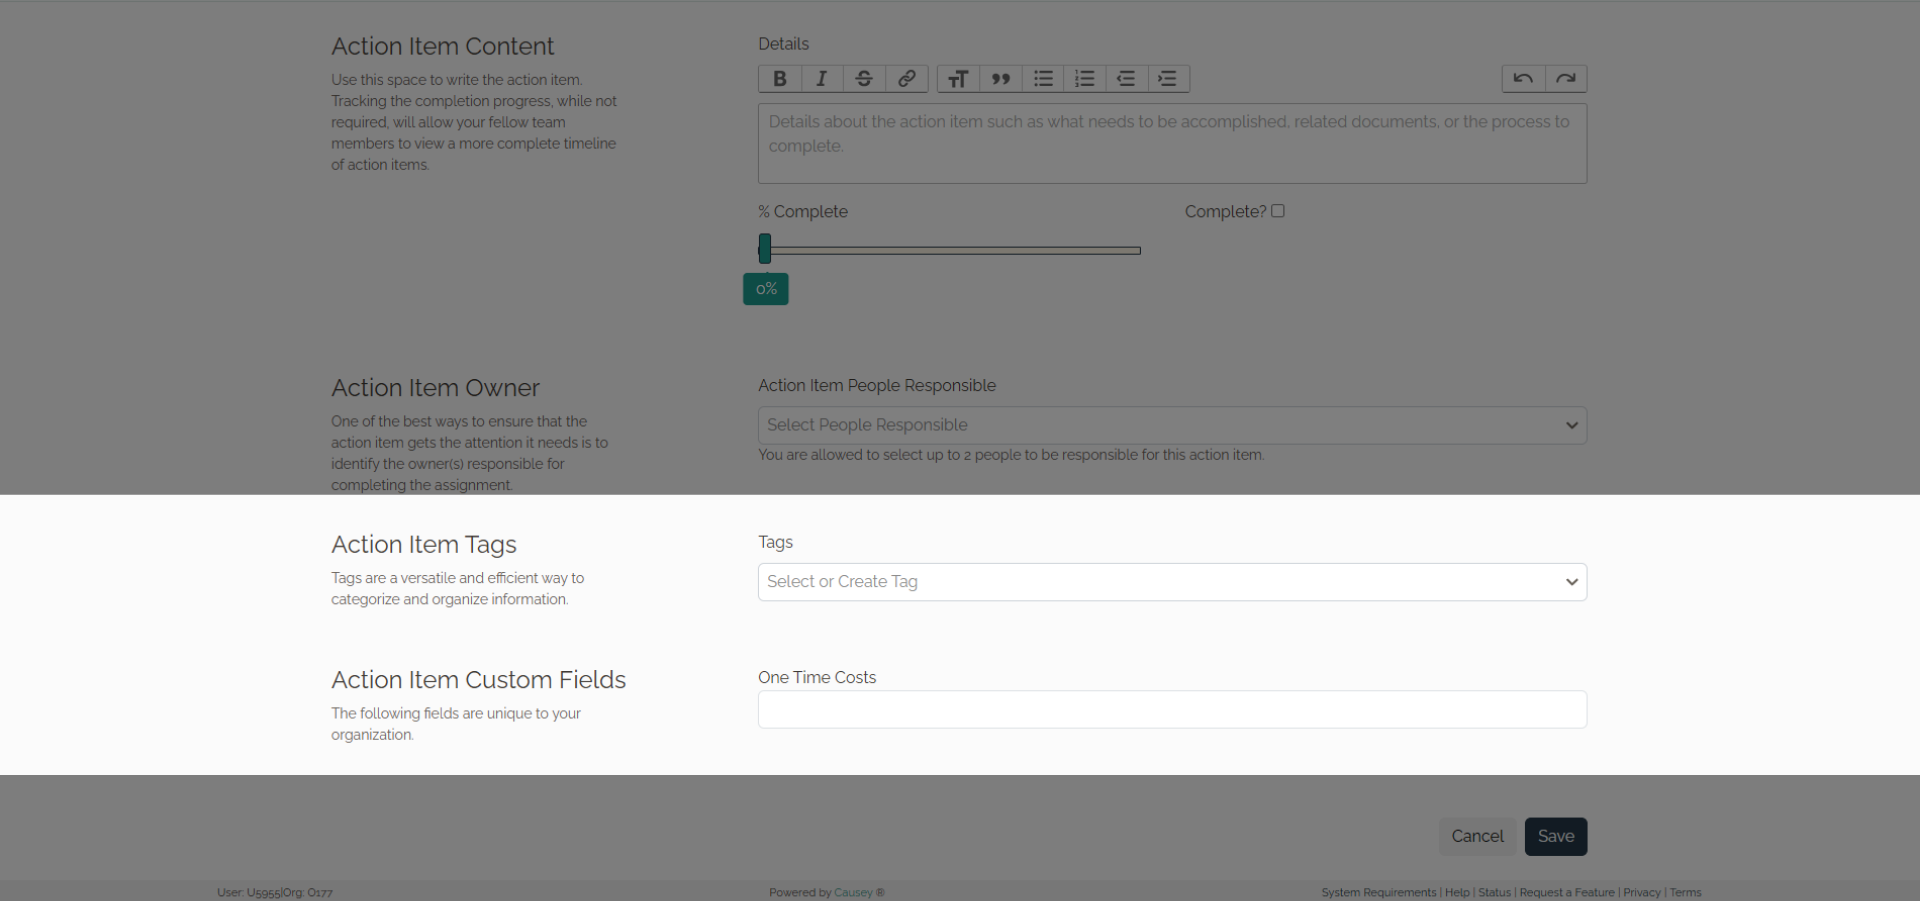
9. Save the Action Item
Click Save to add the Action Item to the Goal.
10. Managing Action Items
Now that the Action Item has been created, let's review the tools available to manage existing Action Items.
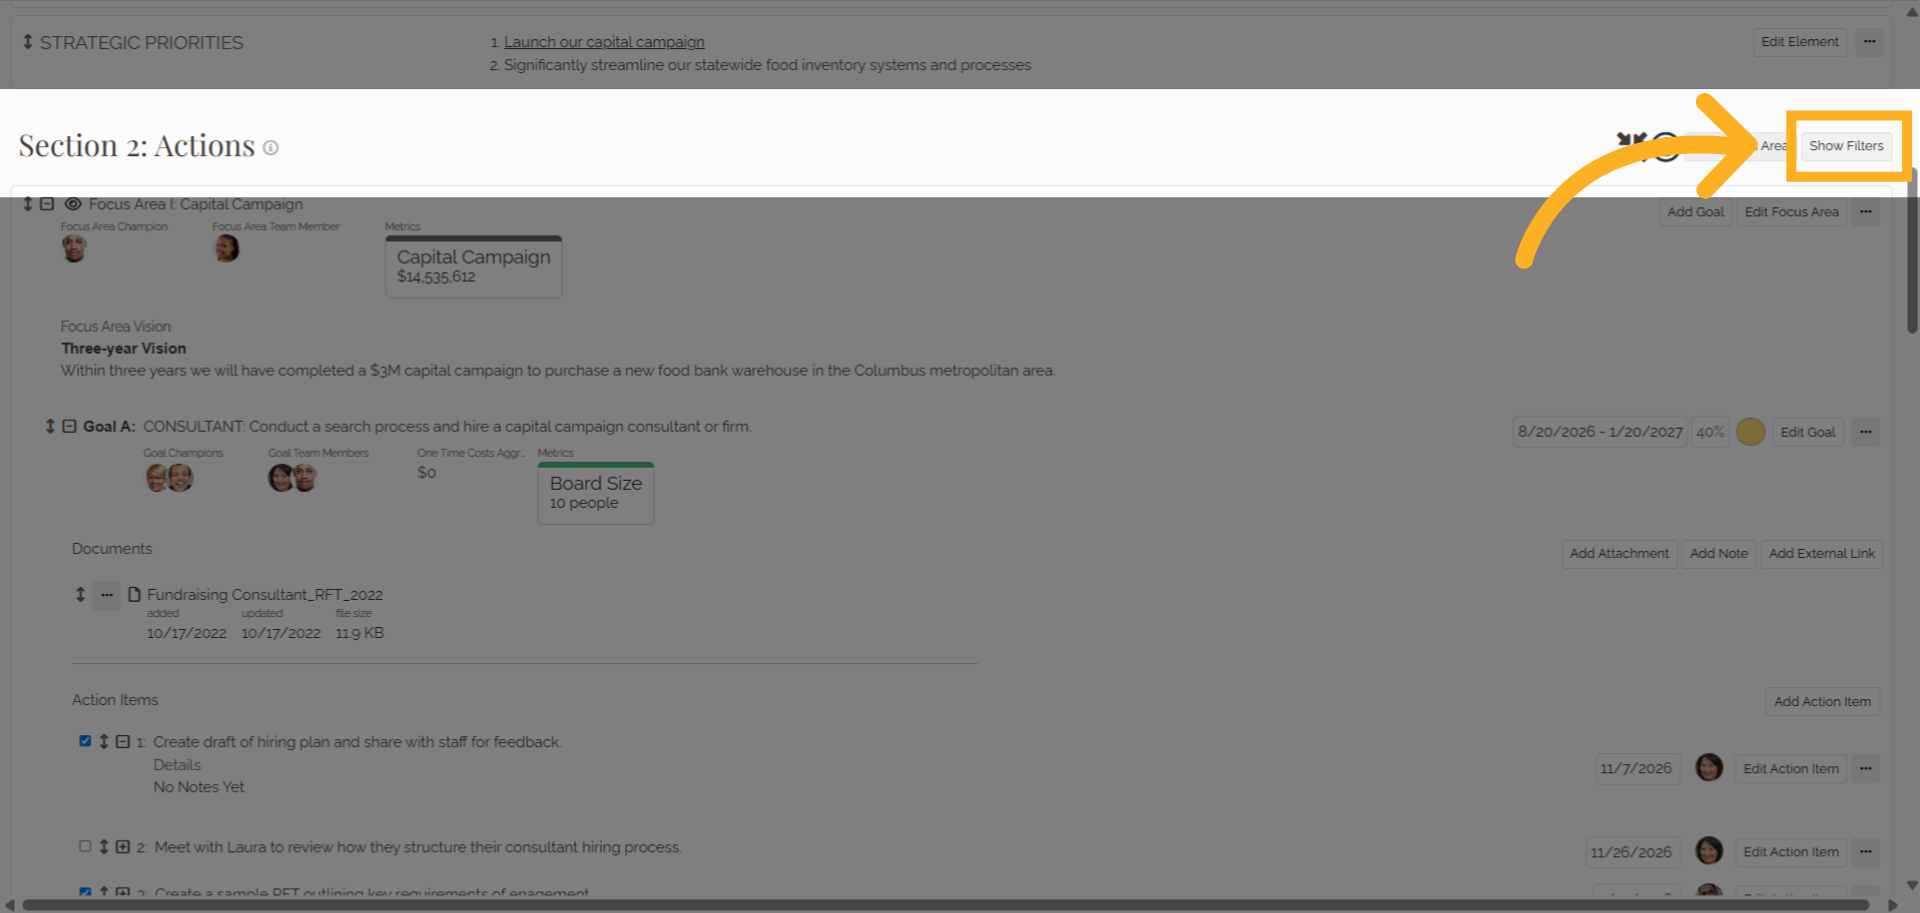
11. Show Filter
Click Show Filter in Section 2: Actions.
12. Filter
Filter Section 2 by person, tags, goal progress status, completion percentage, time since the last progress update, and goal timeframe.

13. Add Additional Action Items
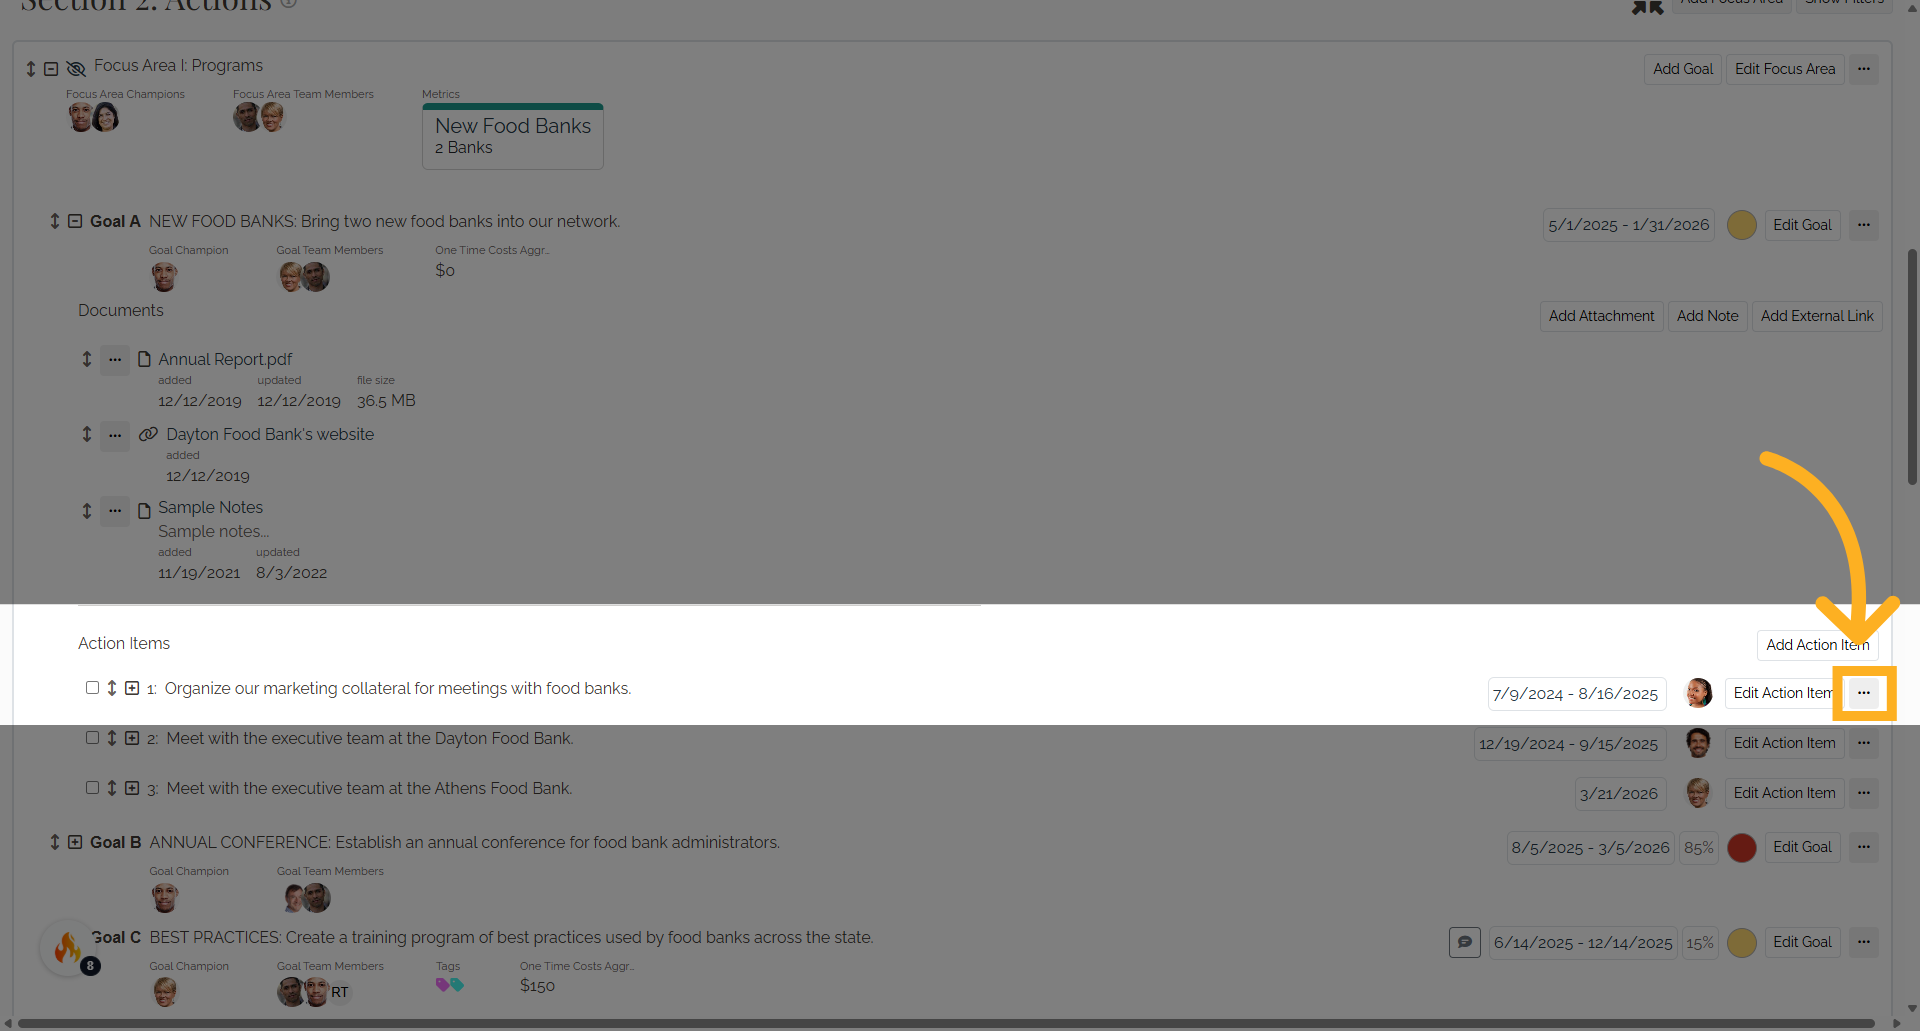
To create additional Action Items, expand the Goal and click Add Action Item in the upper-right corner of the Action Items section.
14. Update Existing Action Items
Use Edit Action Item to modify Action Item details, update progress, reassign ownership, or make other changes as needed.
15. Additional Action Item Options
Click the three dots beside Edit Action Item to access additional options
16. Additional Action Item Option
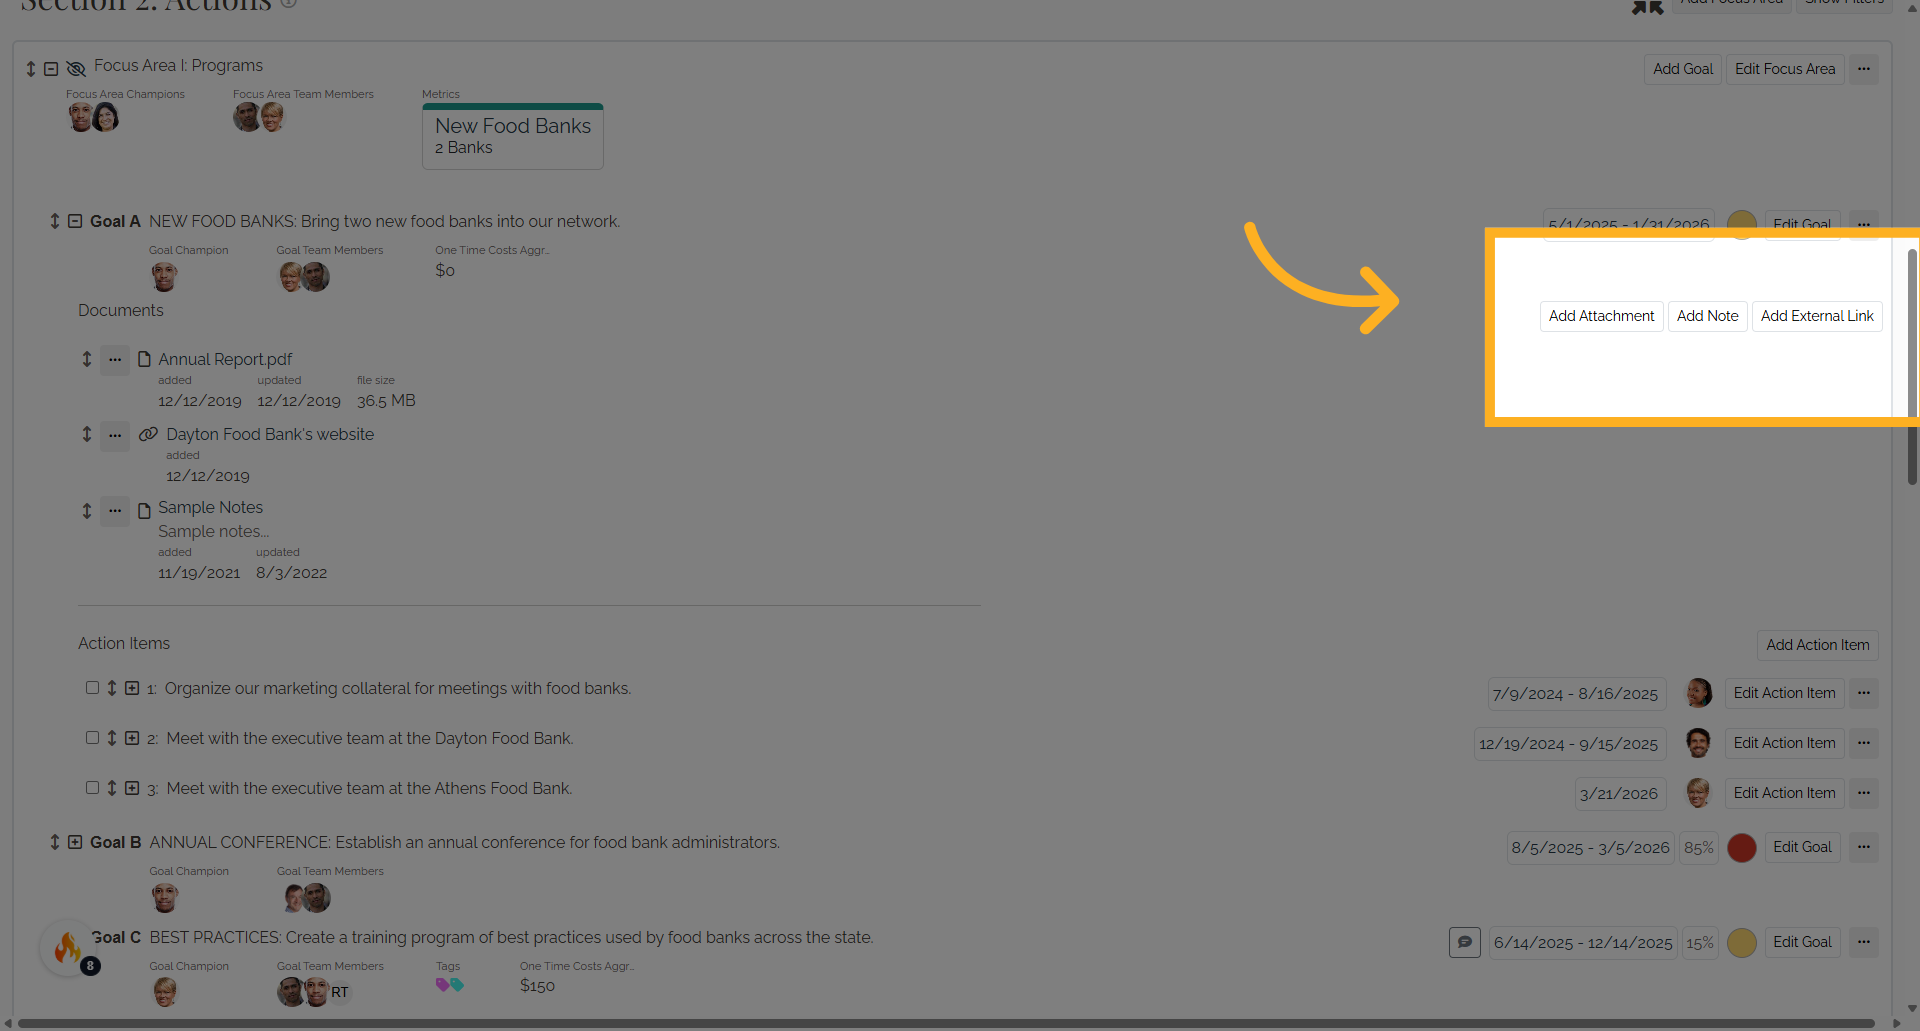
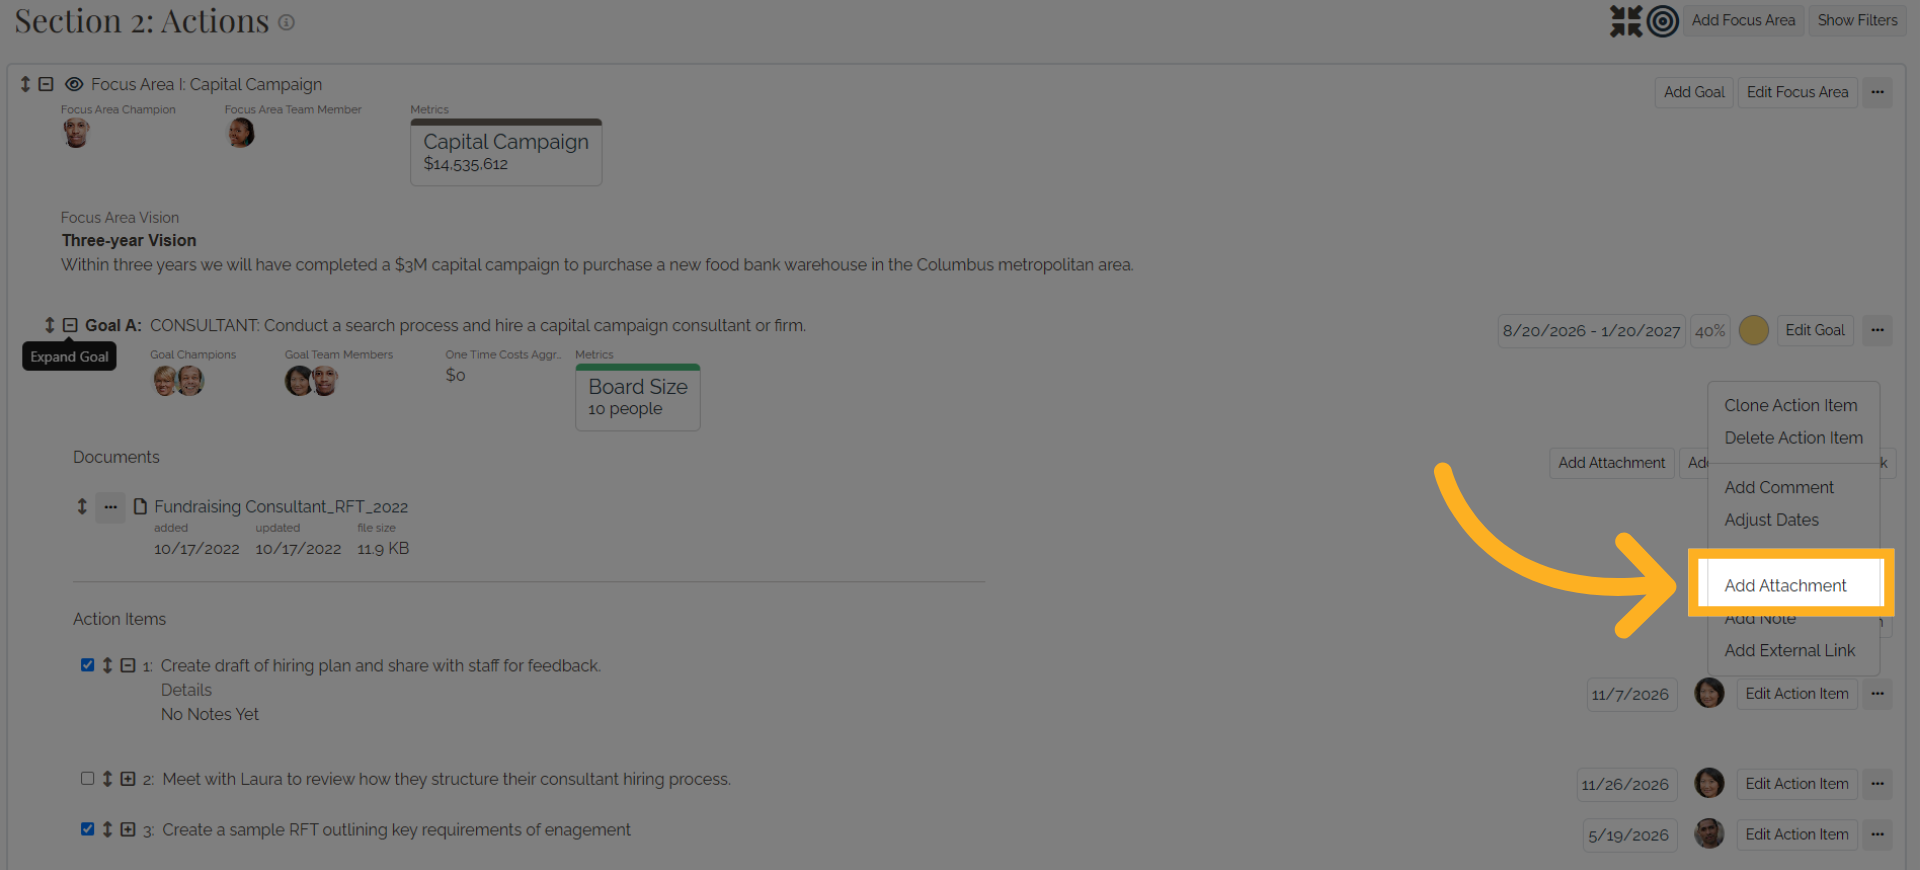
You can Copy or Delete an Action Item, add comments, and adjust Action Item dates.

17. Add Attachment
Click the Add Attachment.
18. Upload Attachment
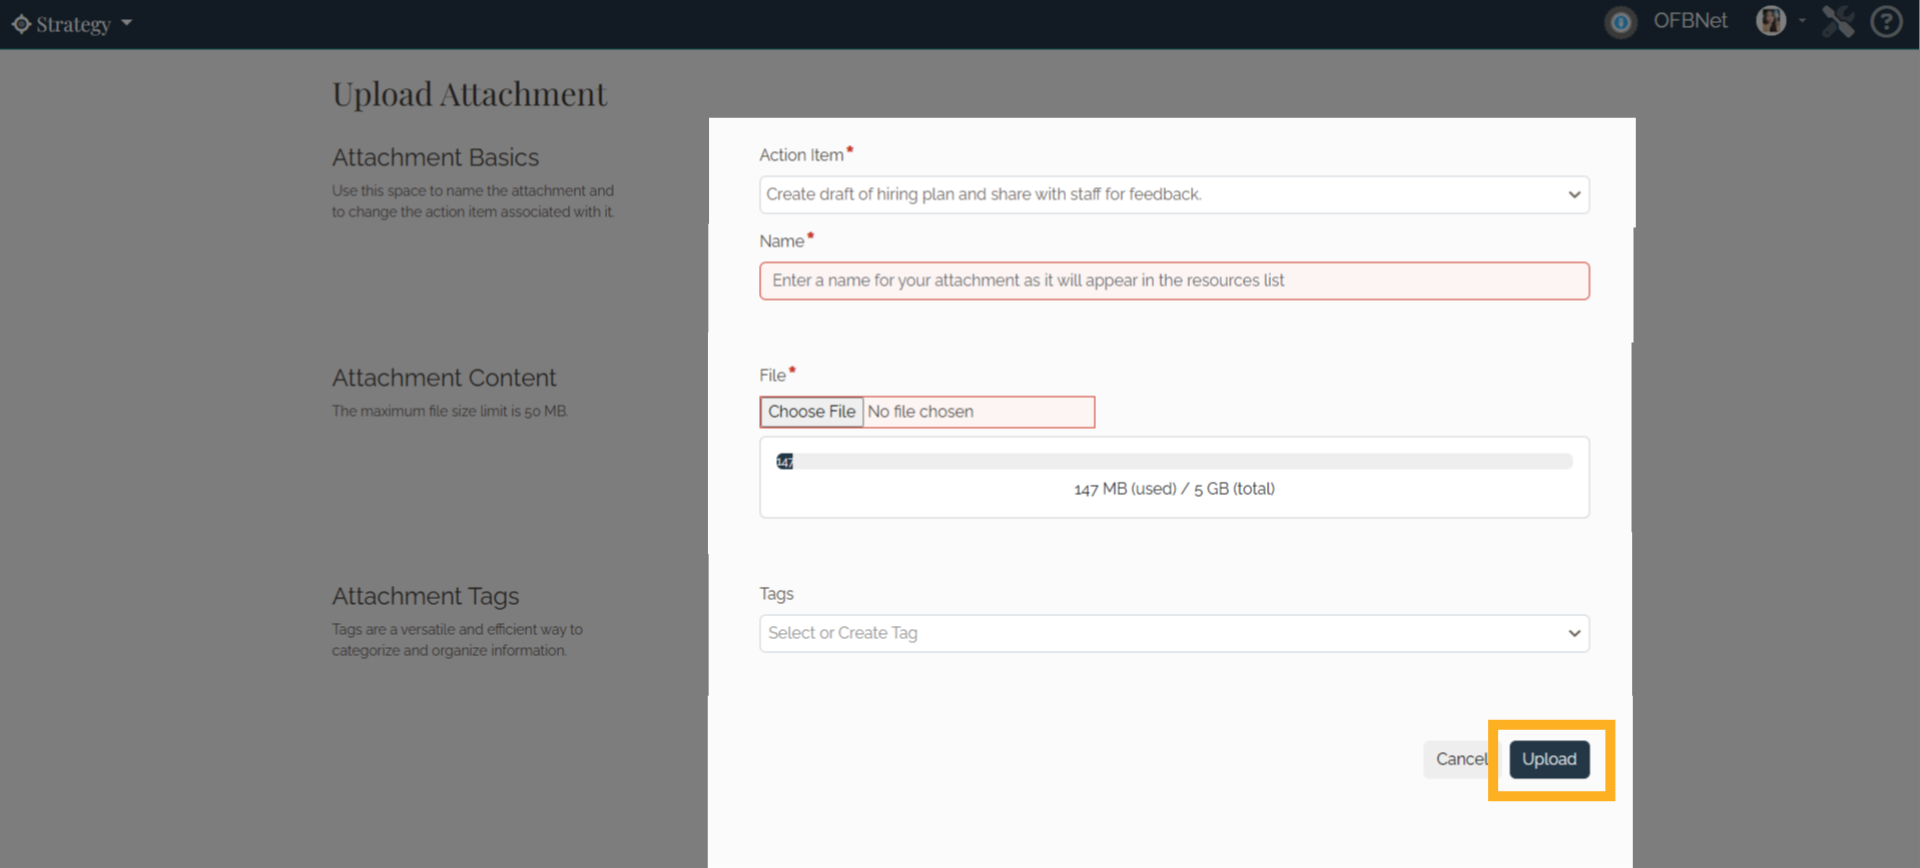
Confirm you are adding the attachment to the correct Action Item. Enter a name. Select or drag and drop a file, add Attachment Tags if desired, then click Upload.
19. Add Note
Click Add Note.

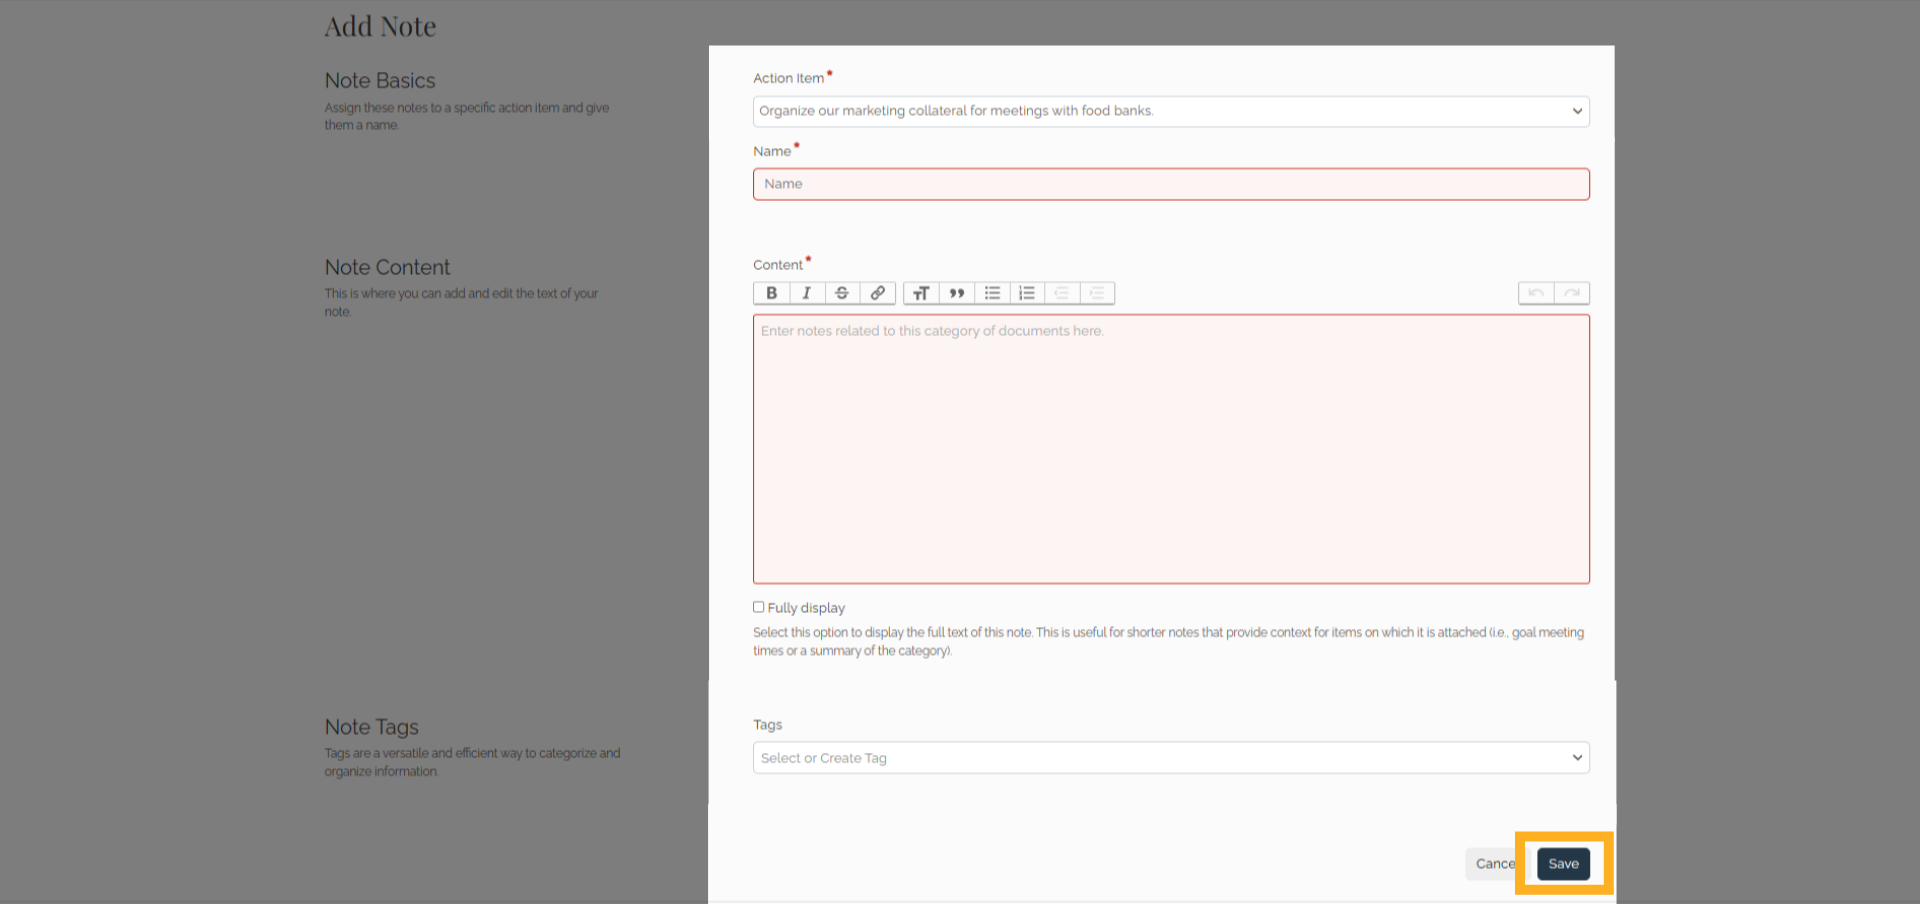
20. Add Note
Confirm you are adding the note to the correct Action Item. Enter a name and note content, add Tags if desired, then click Save.
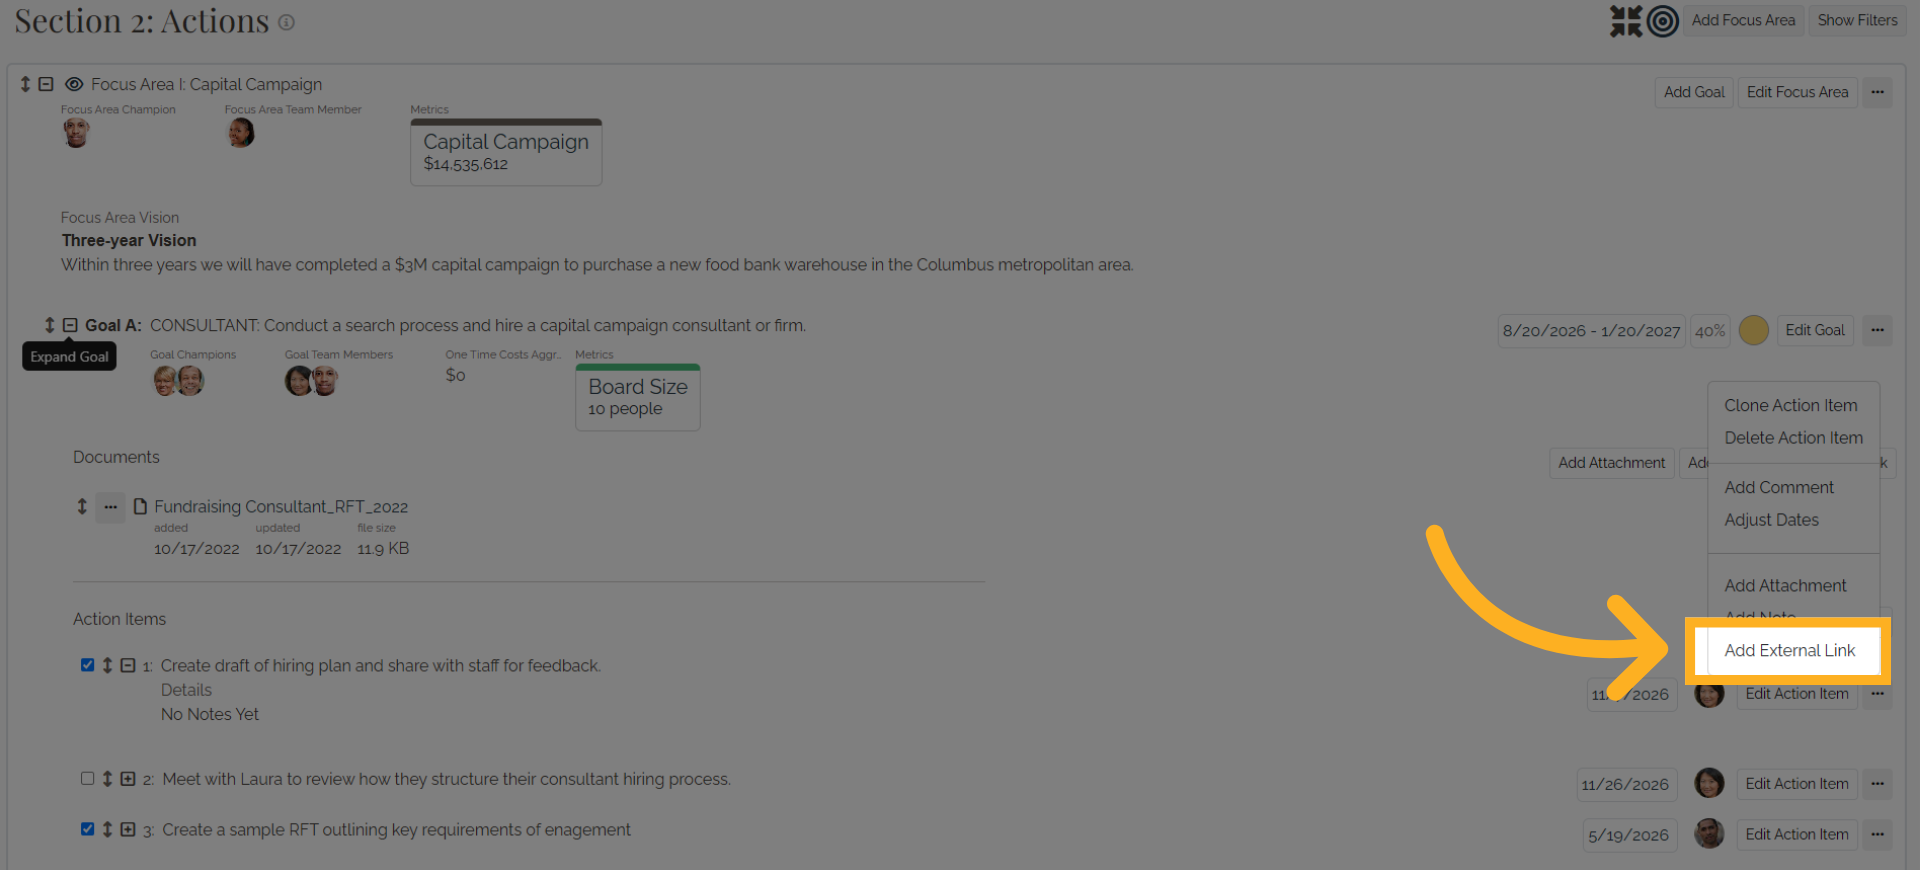
21. Add External Link
Click Add External Link.
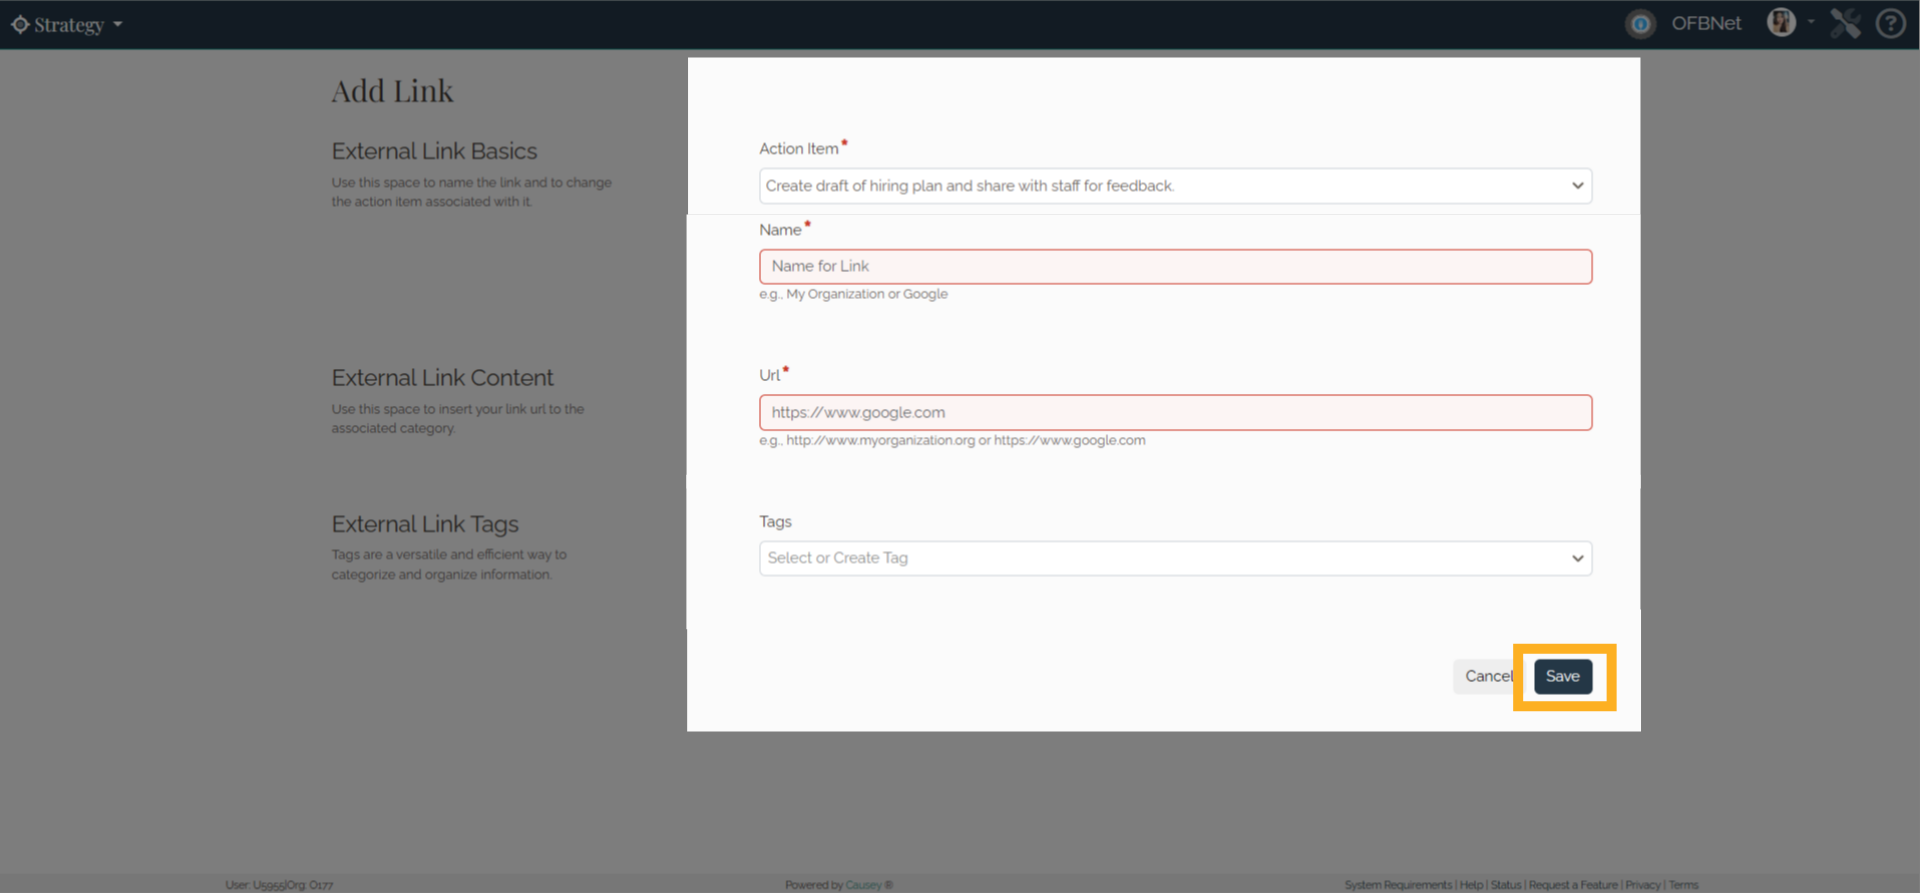
22. Add External Link
Confirm you are adding the link to the correct Action Item. Enter a name and URL, add Tags if desired, then click Save.
23. You're all set.
Your Action Item is now in place and ready to be tracked, updated, and managed. Visit help.causey.app for more resources.