
Add Your Organization's Logo
1. Introduction
Adding your organization's logo in Causey is a great way to display your brand throughout the strategic plan.
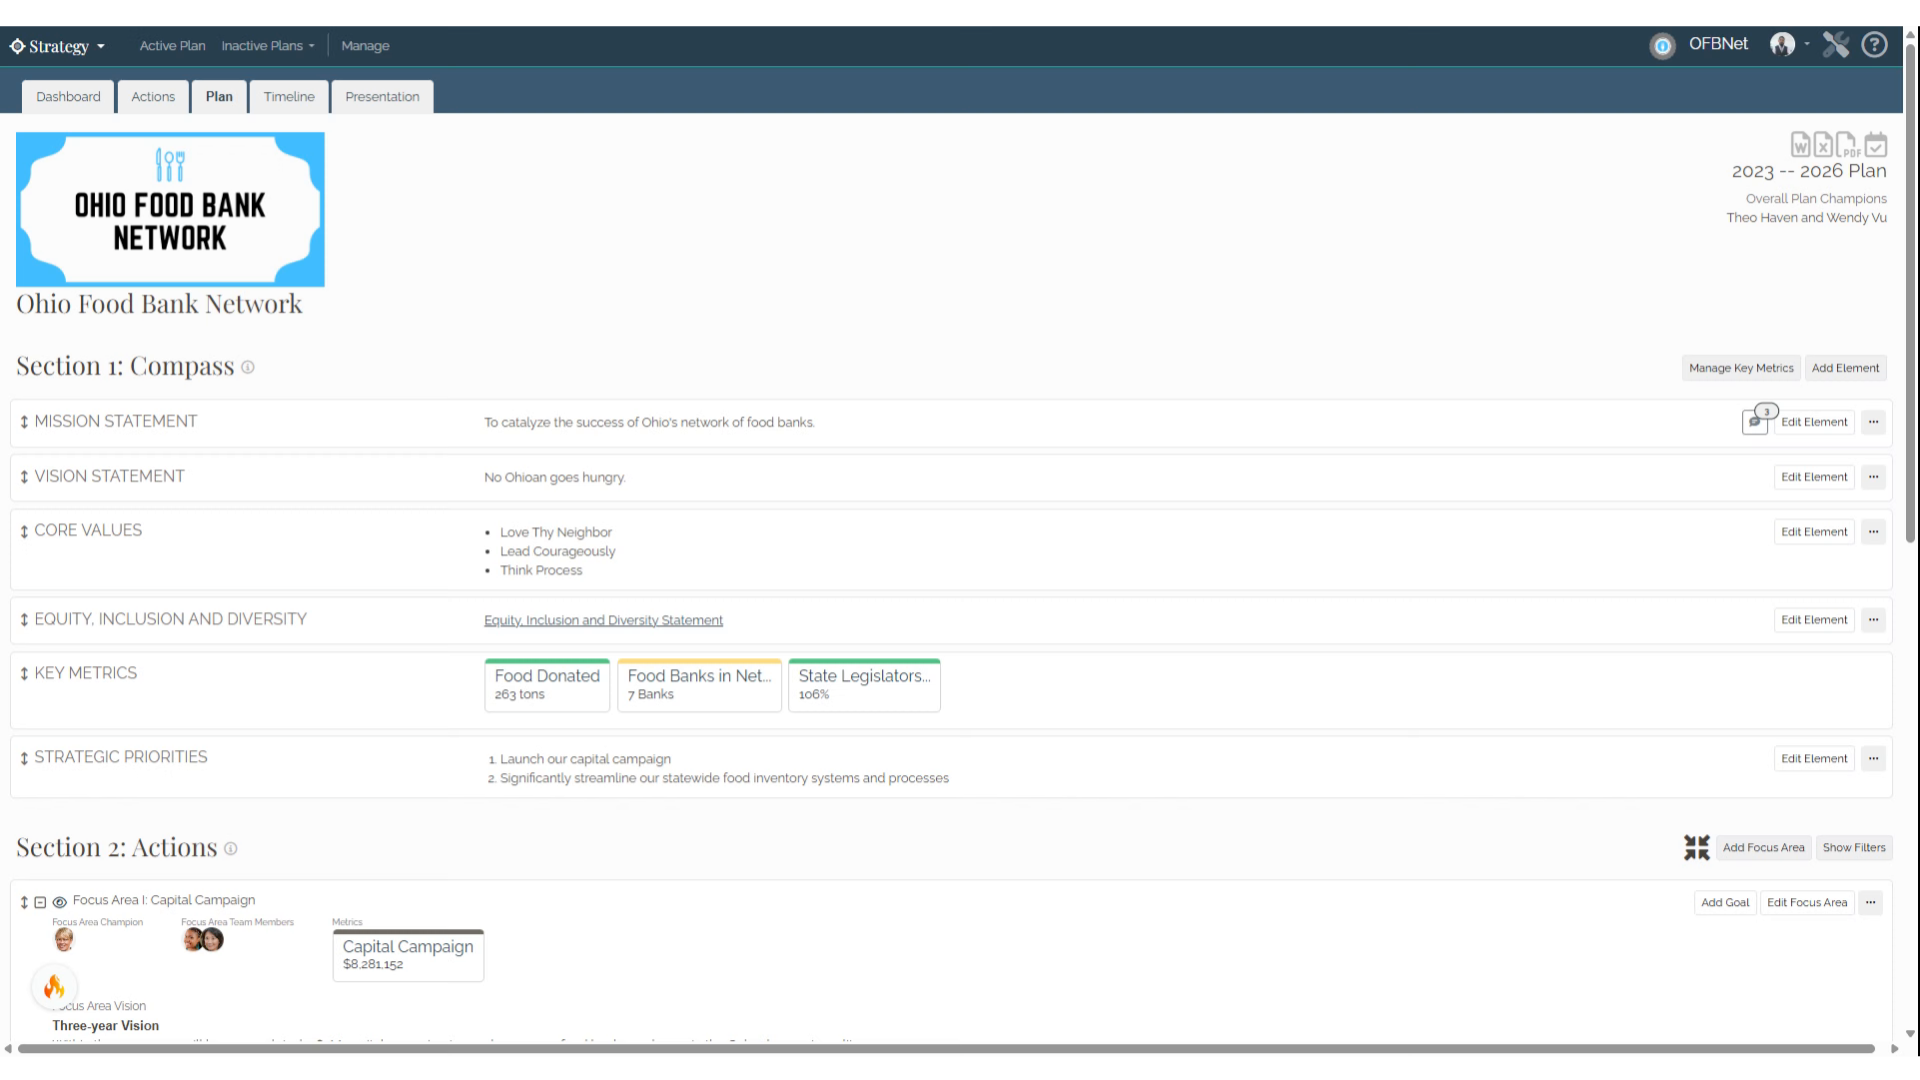
2. Click "Strategy"
To add a logo, visit the Organization Settings page.
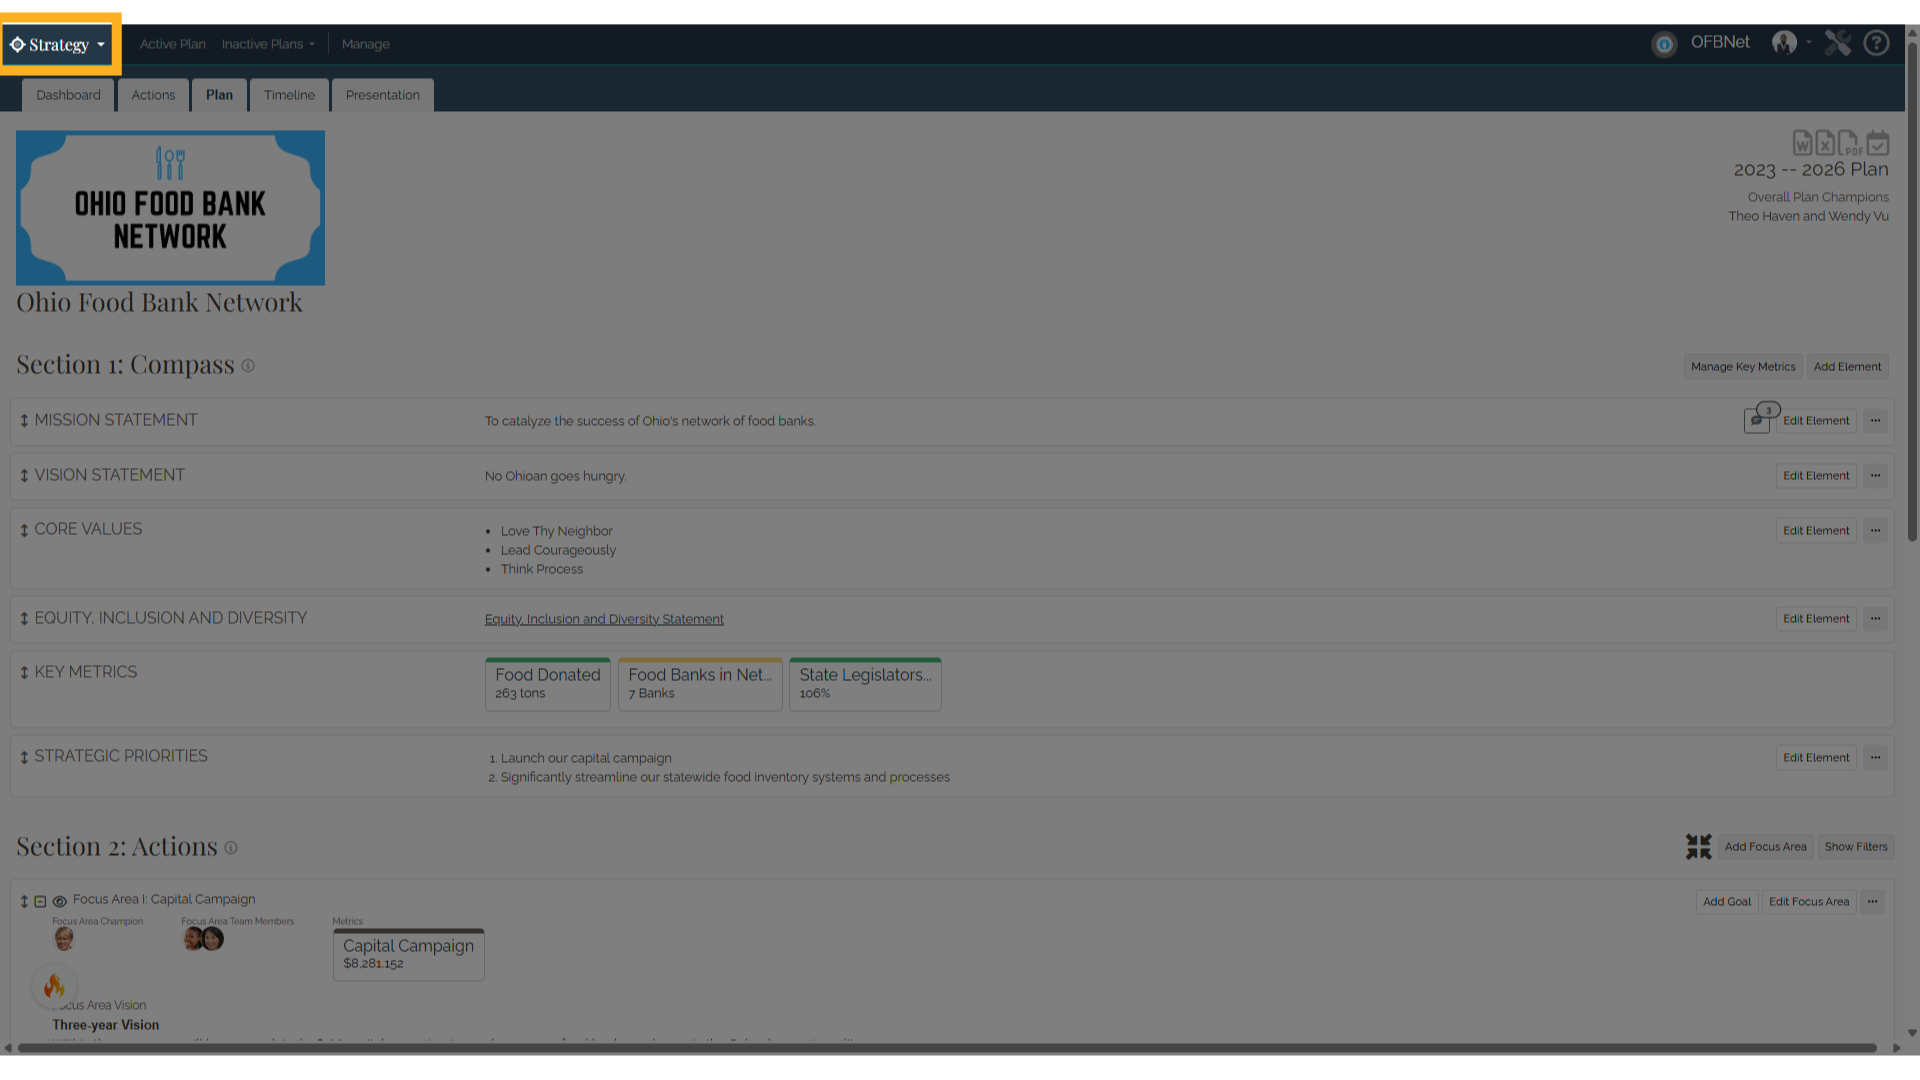
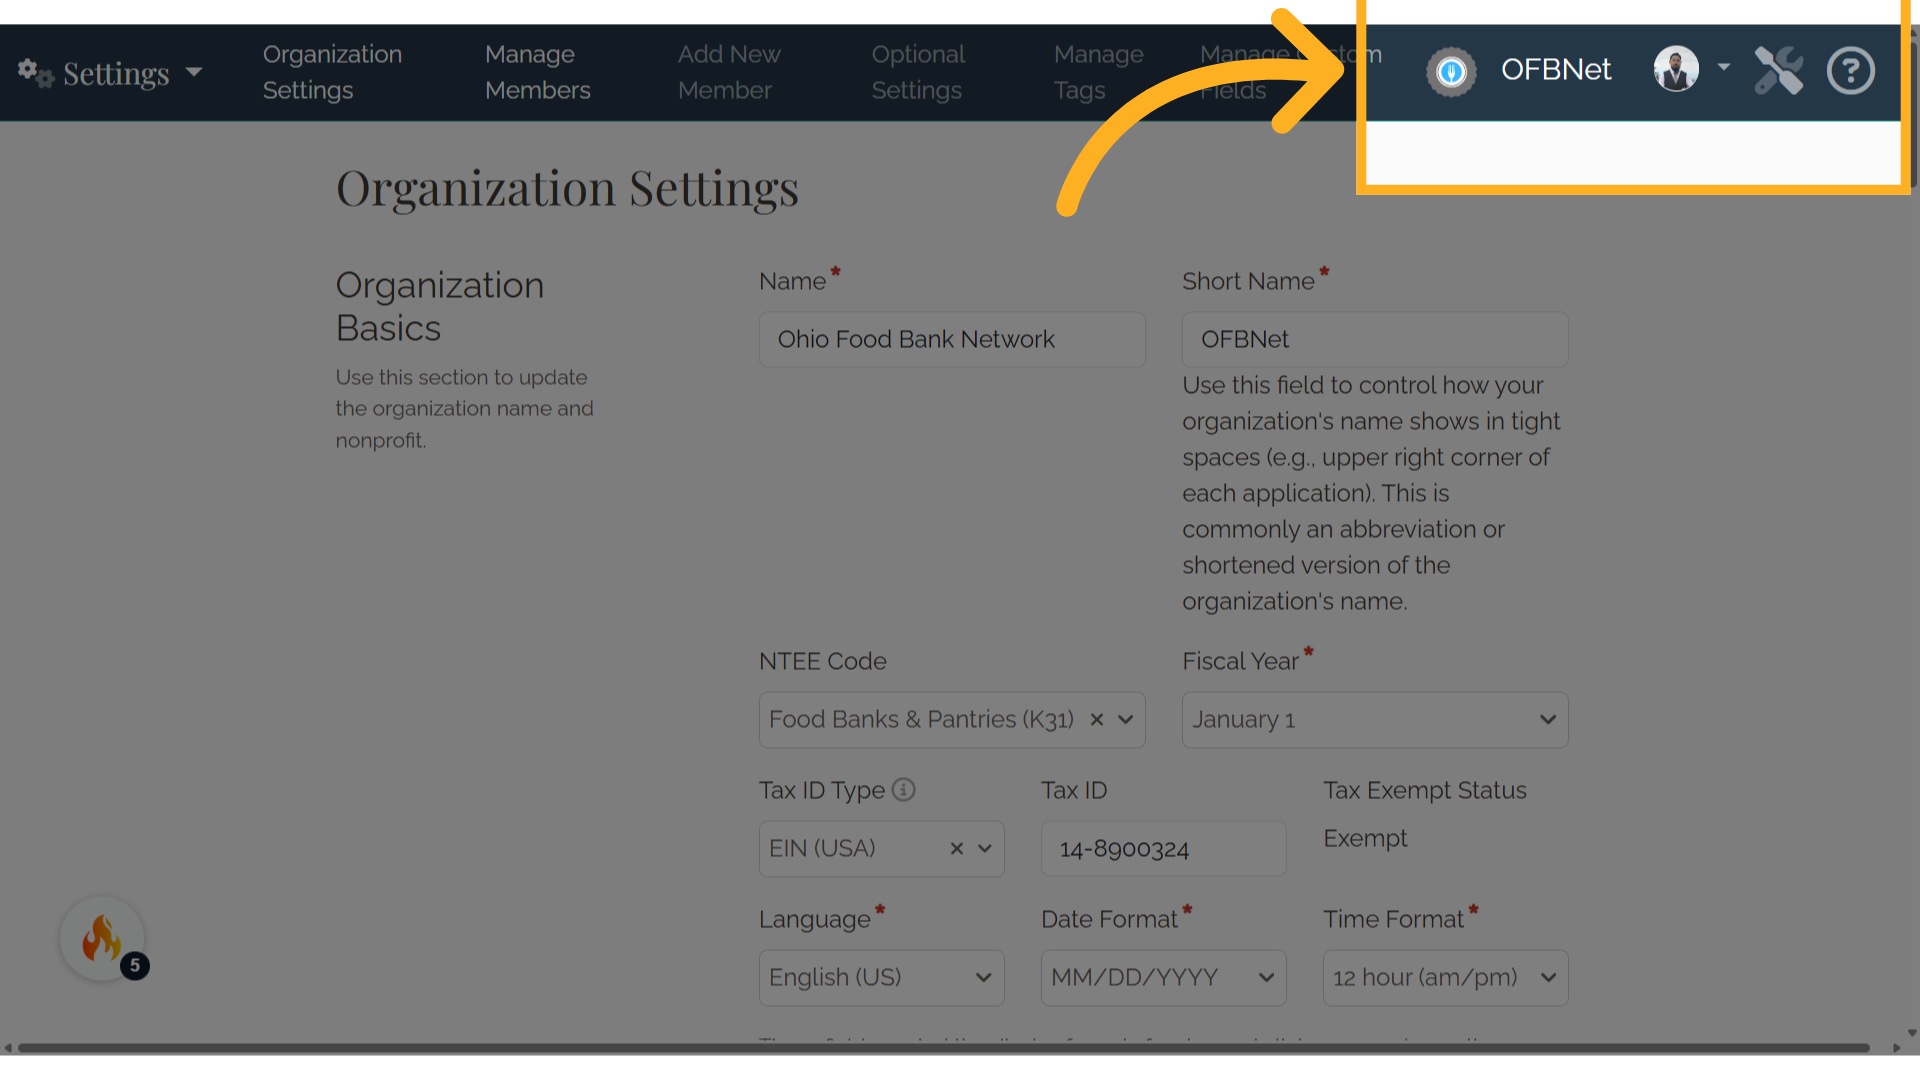
3. Click "Settings"
To go to organization settings, select the drop-down menu in the top left corner and then select Settings.
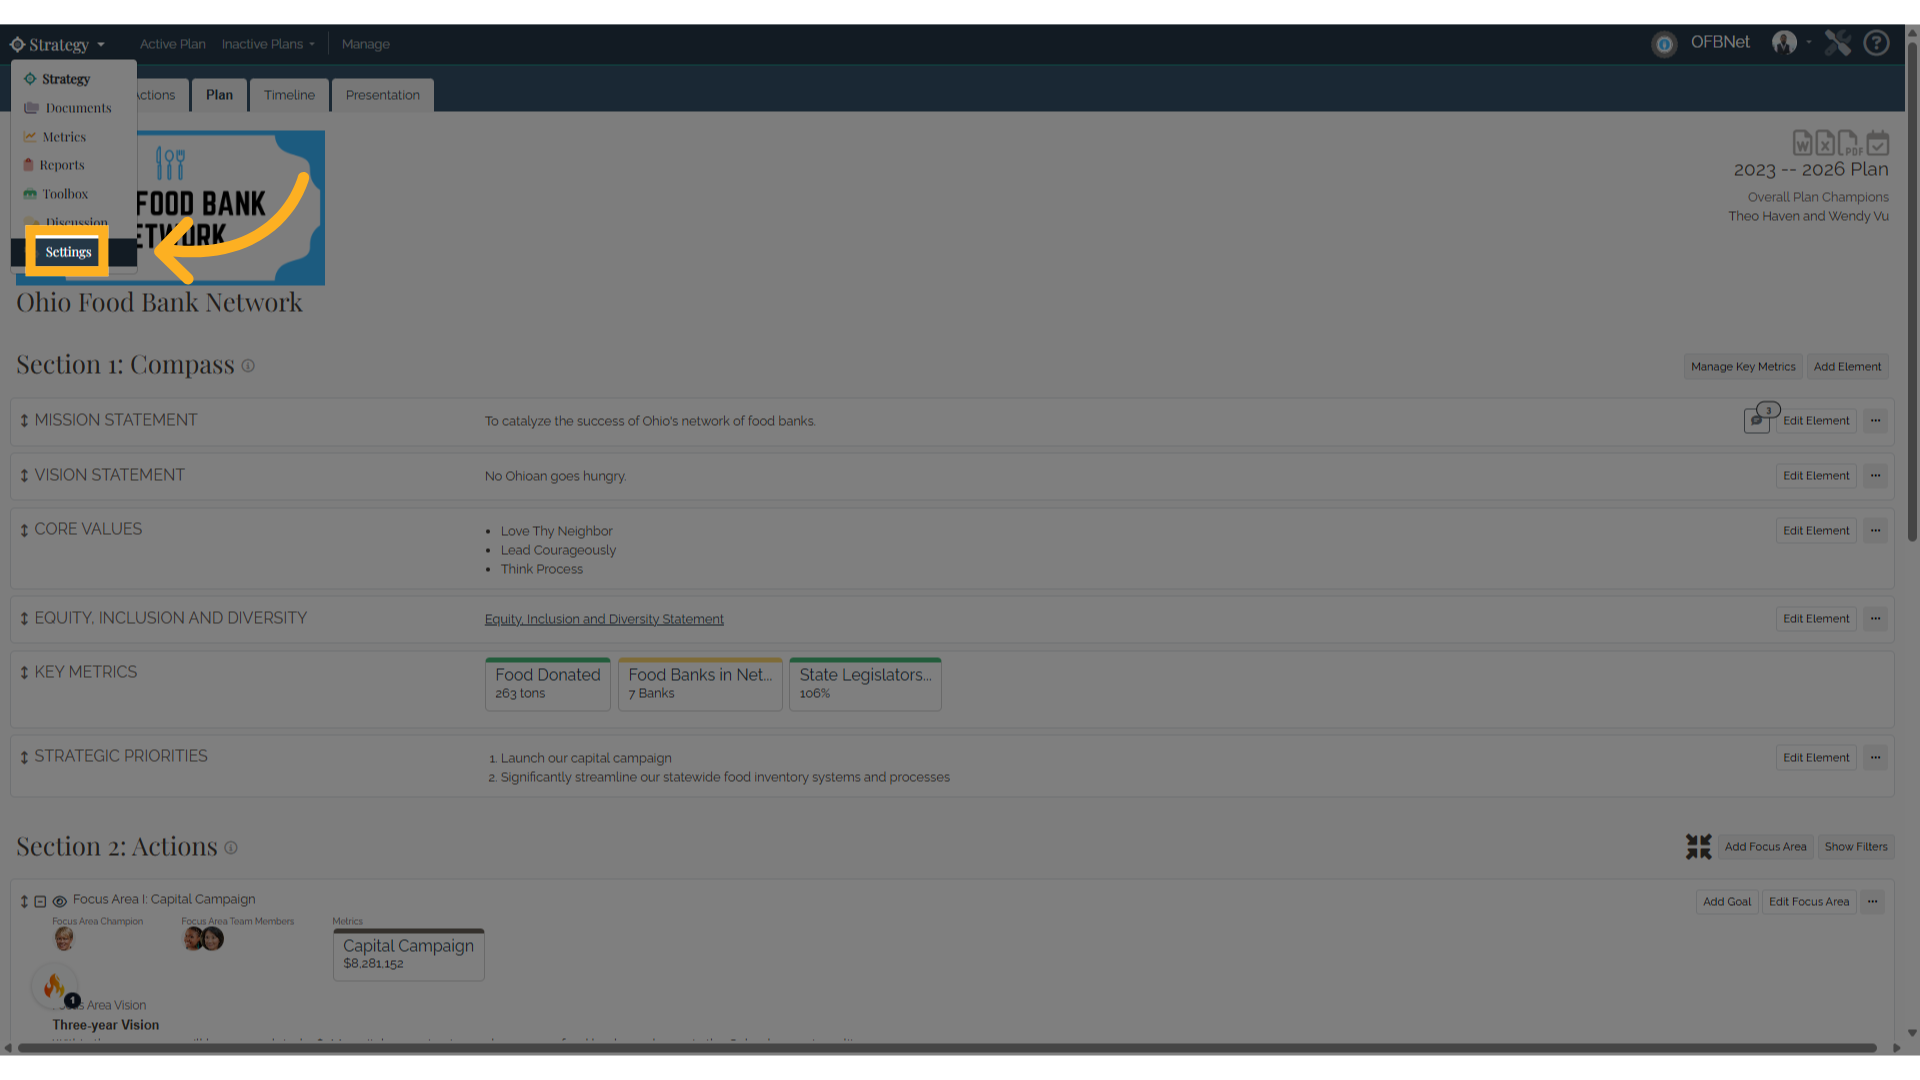
4. Organization Settings page
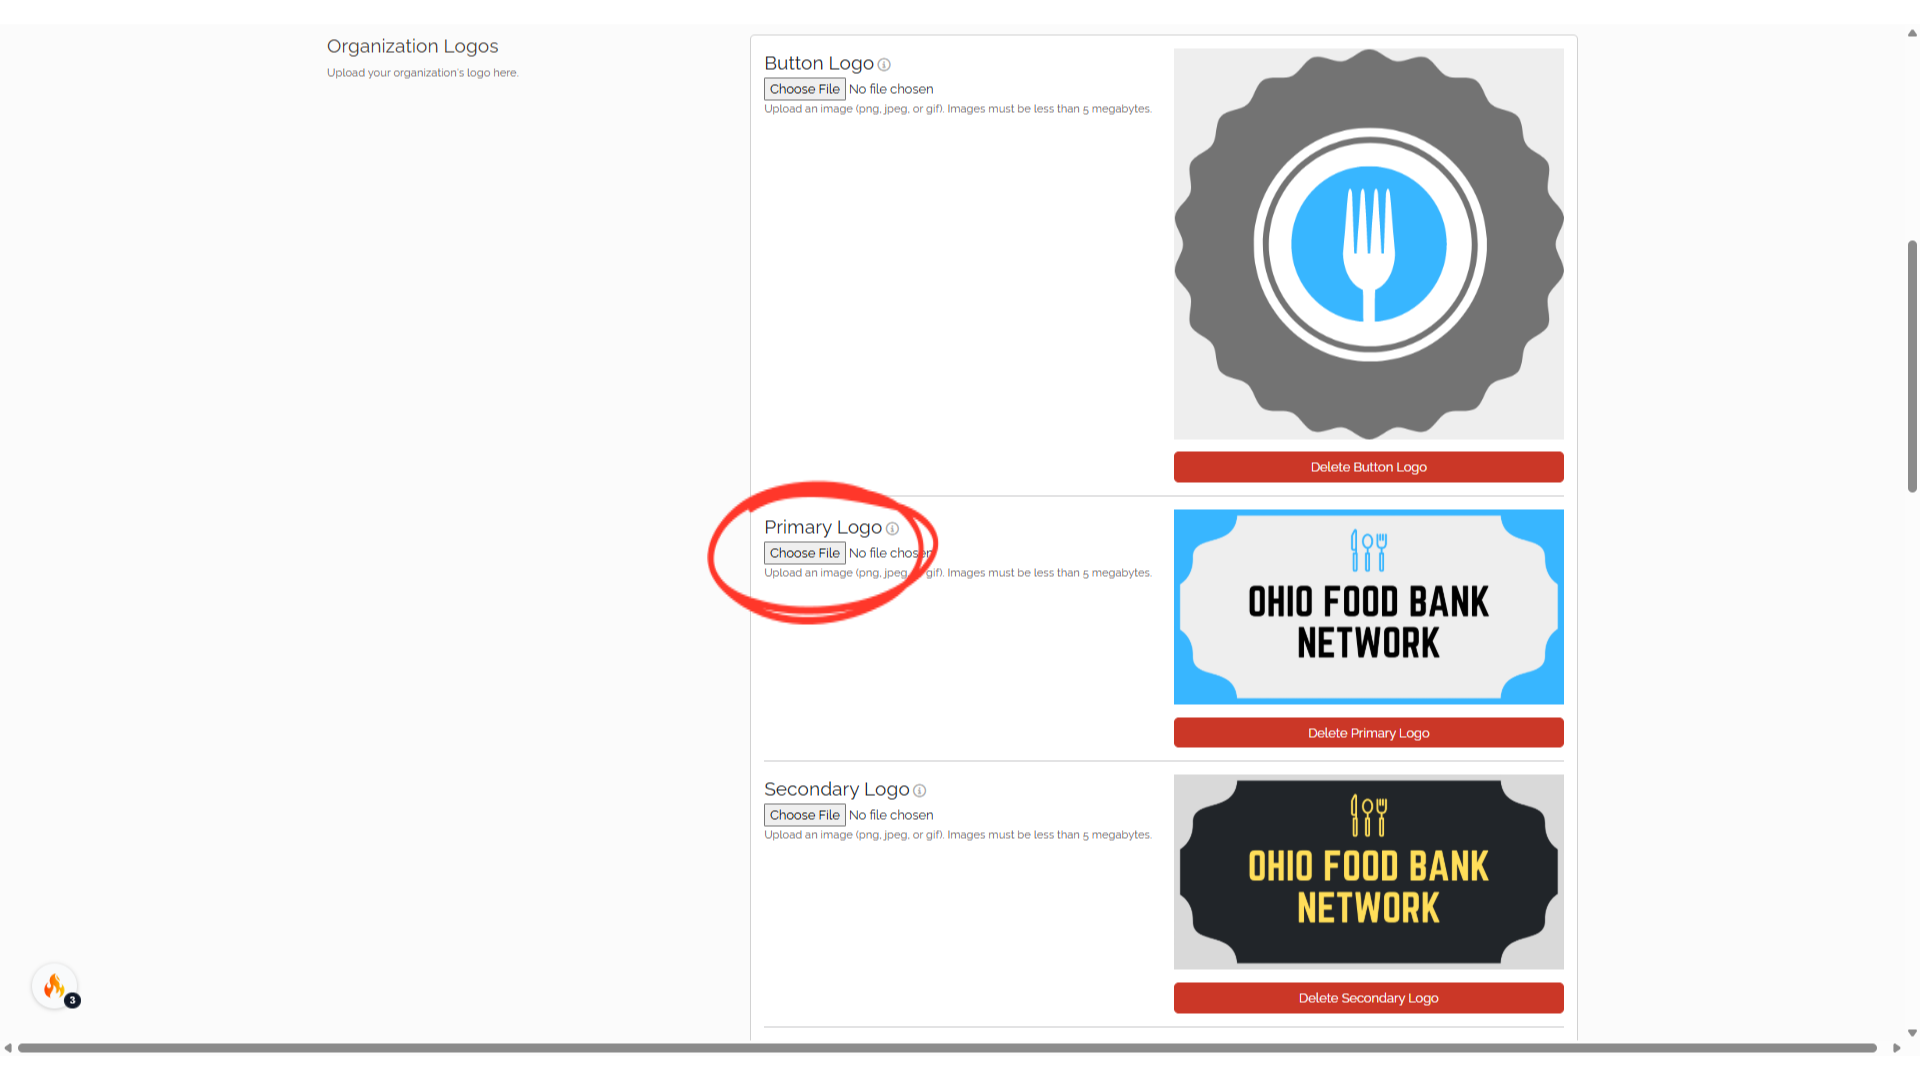
In the Organization Settings page, scroll down to the Organization Logos
5. Organization Logo
In the Organization Logos section, administrators can add a button logo, a primary logo, and a secondary logo. All logos must be in a png, jpeg, or gif format and must be less than 5 megabytes.
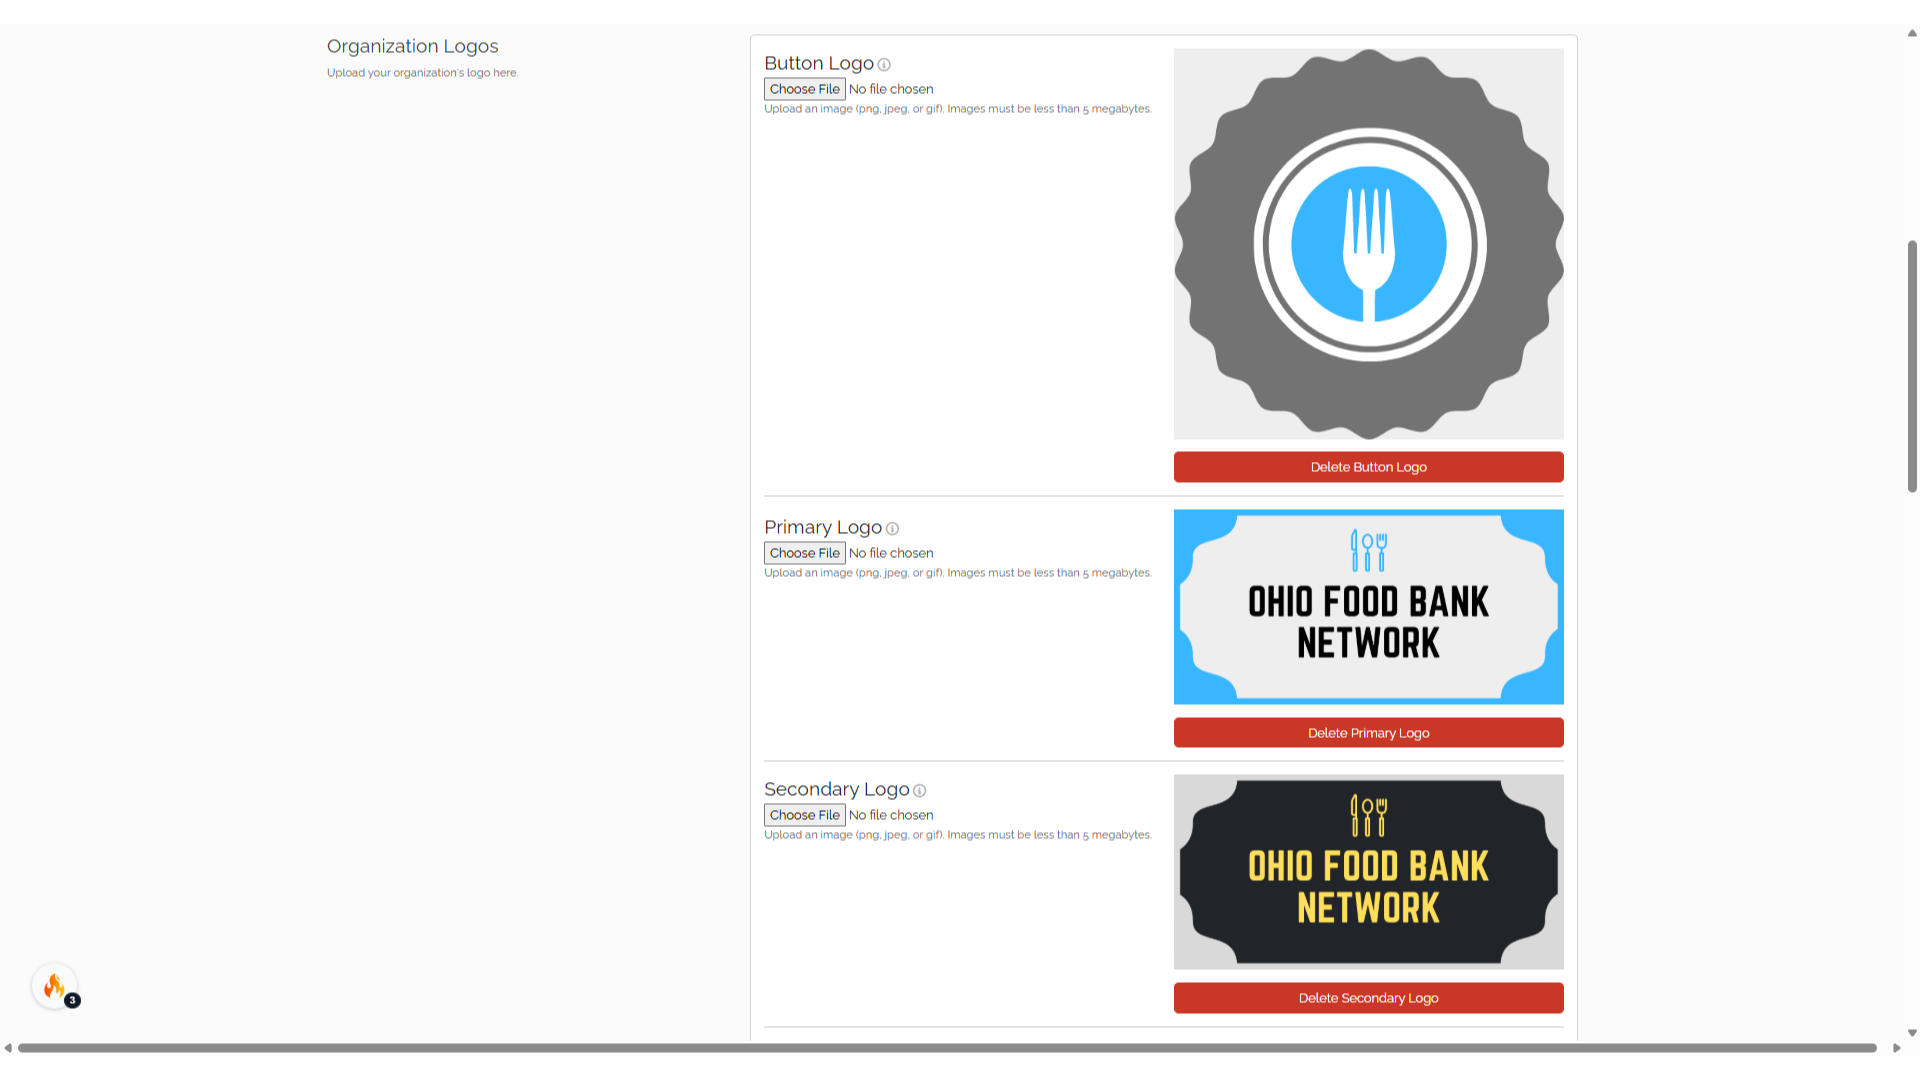
6. Choose File
Select choose file and find the logo image you wish to upload on your computer. Select save for the image to be uploaded to your organization.
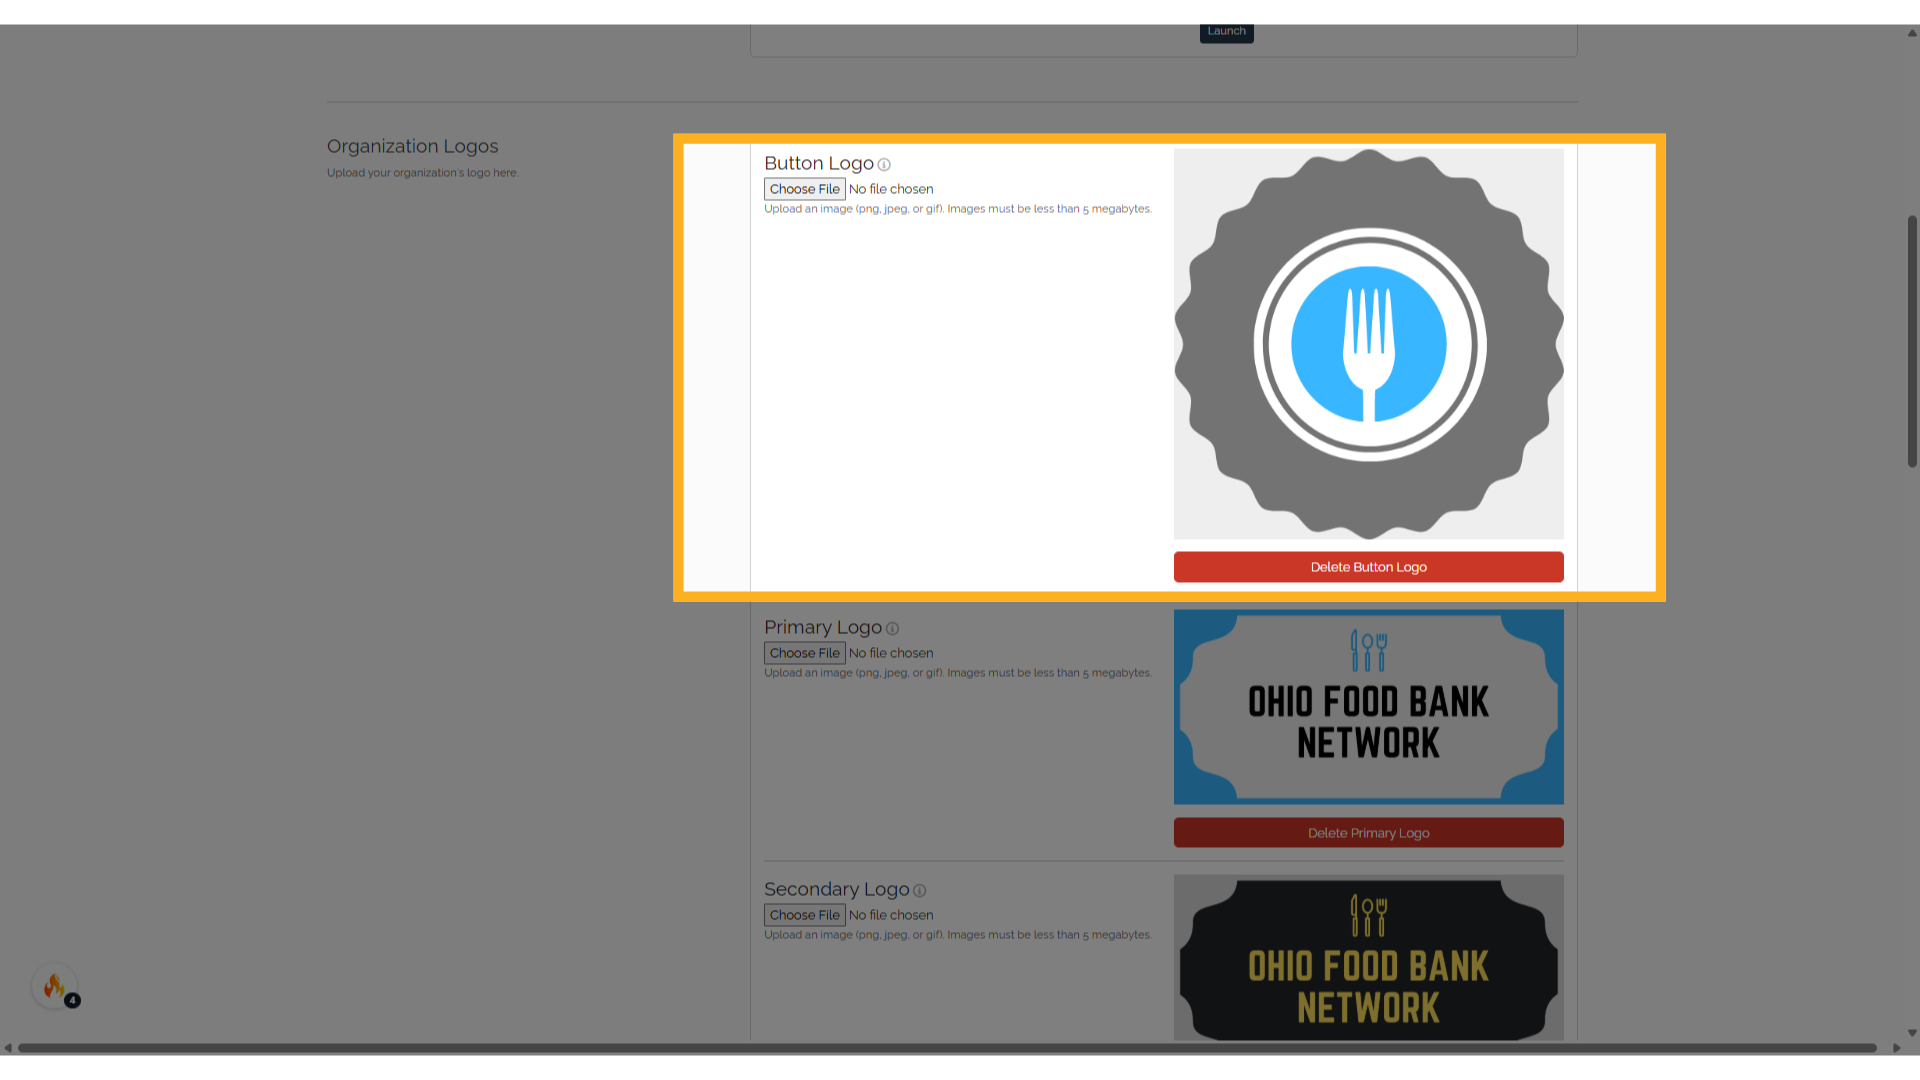
7. Button Logo
A button logo will display where a smaller image is necessary throughout the application such as where multiple organizations are listed and in the top navigation bar.
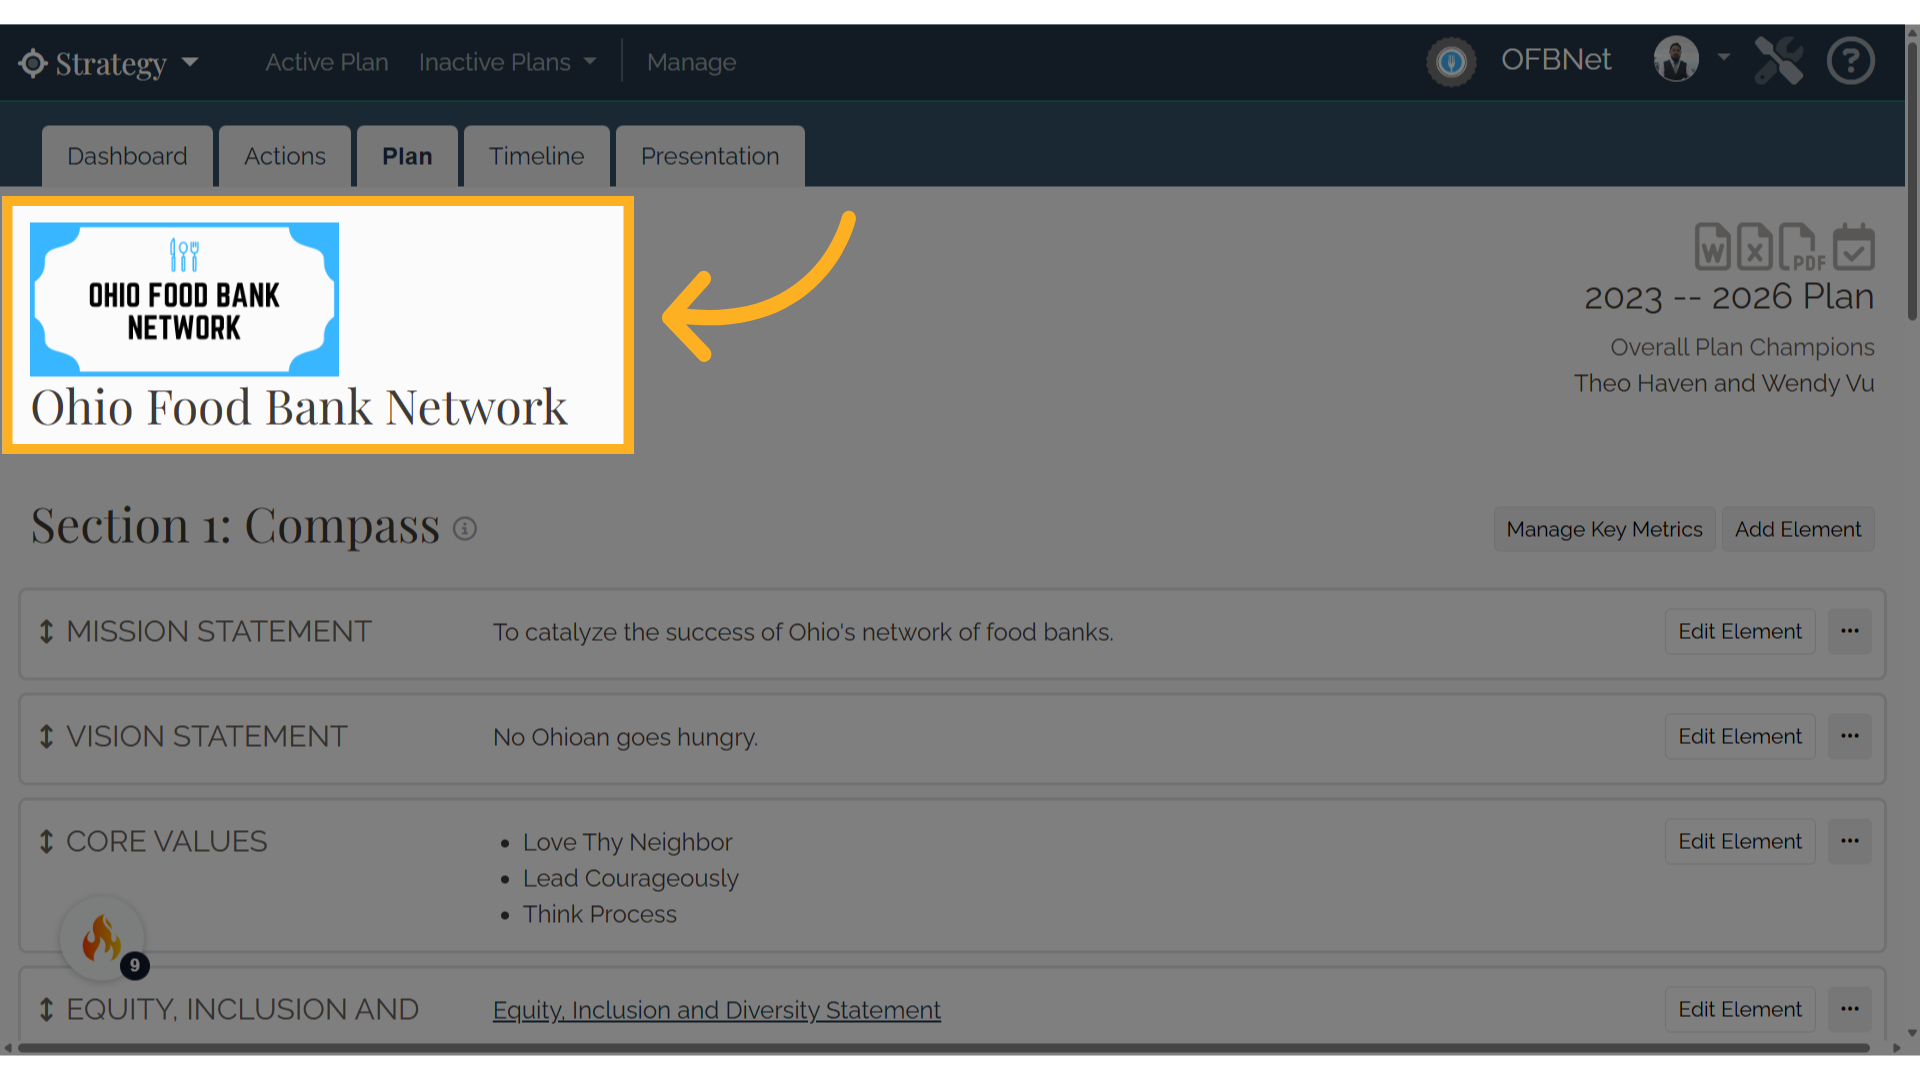
8. Primary Logo
A primary logo will display on the plan page and on PDFs generated from the application.
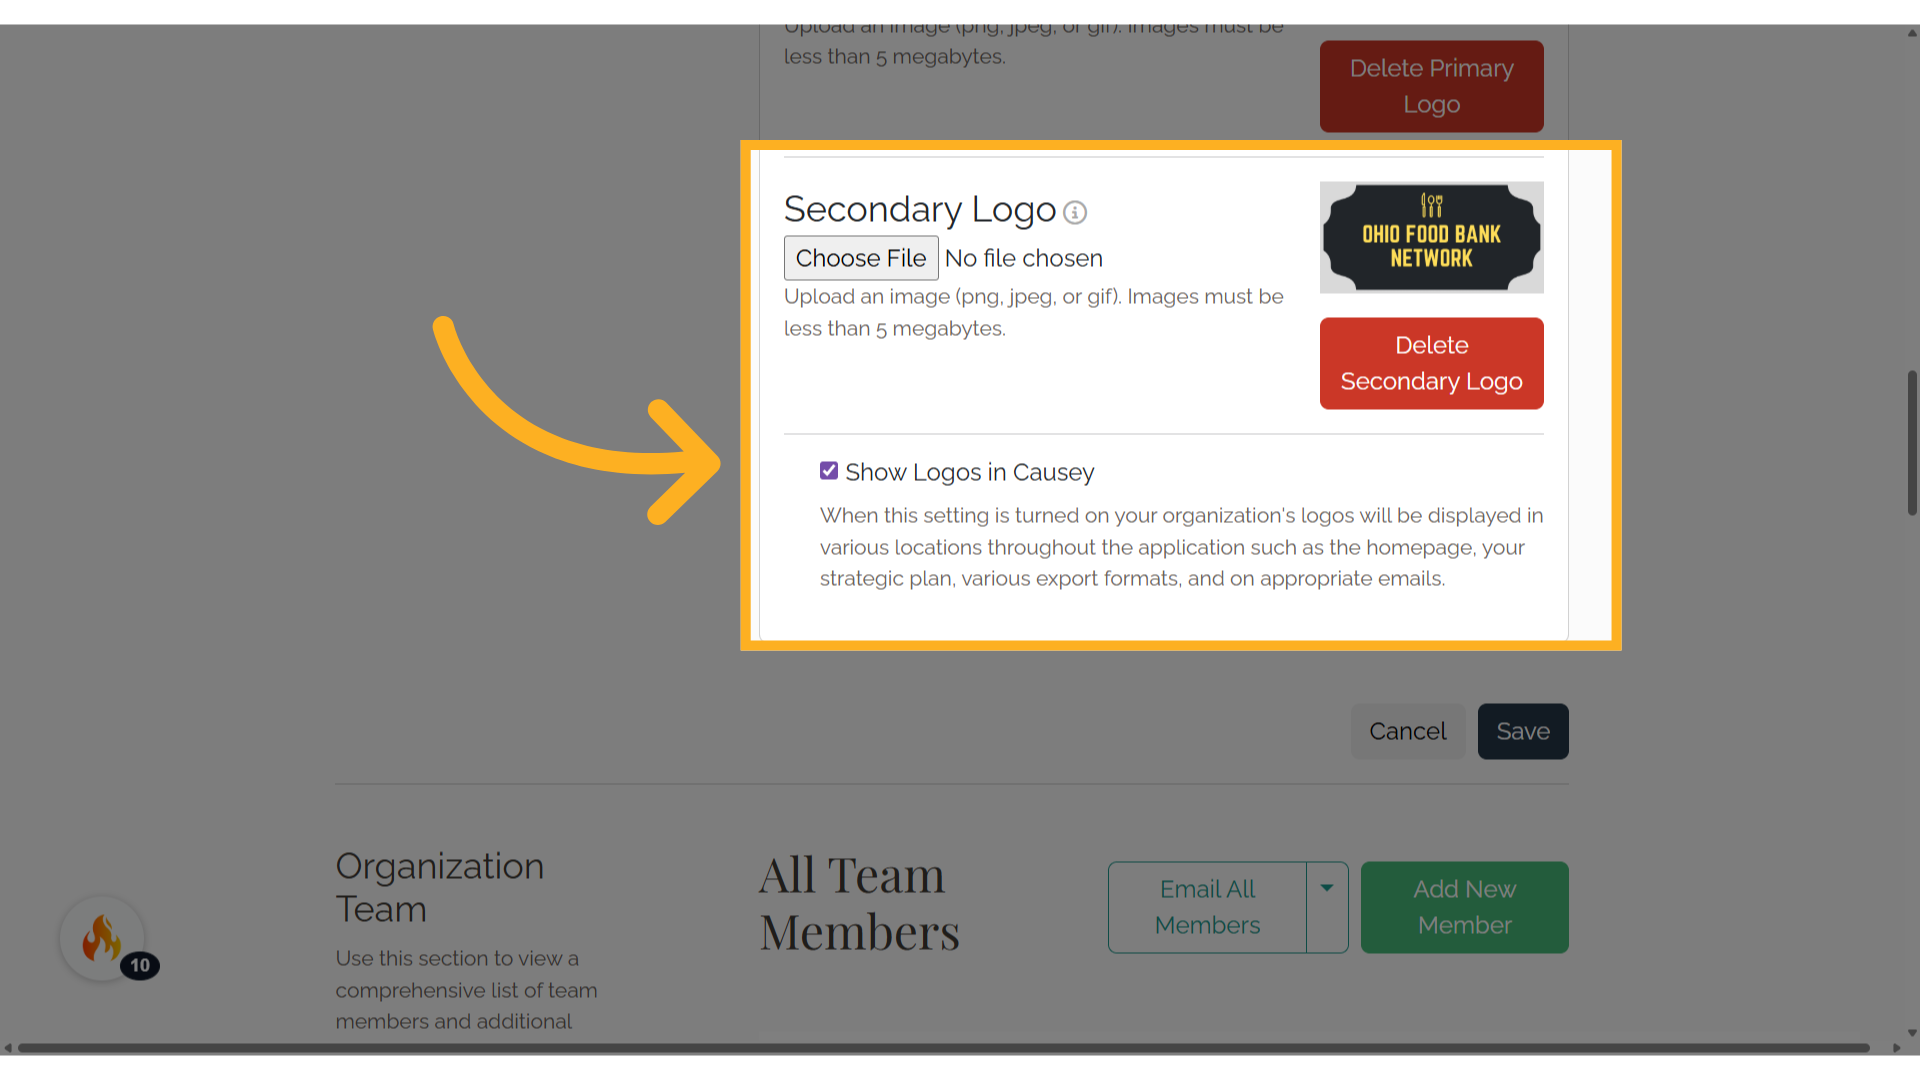
9. Secondary Logo
A secondary logo will be used in emails generated from the application. Make sure that the check box is selected to display the logo in various locations throughout the application. De-select the check box to hide the logos.
10. Change Logo
To change a logo, select Choose File and upload a new image. Select save and the image will refresh to show the latest uploaded logo.
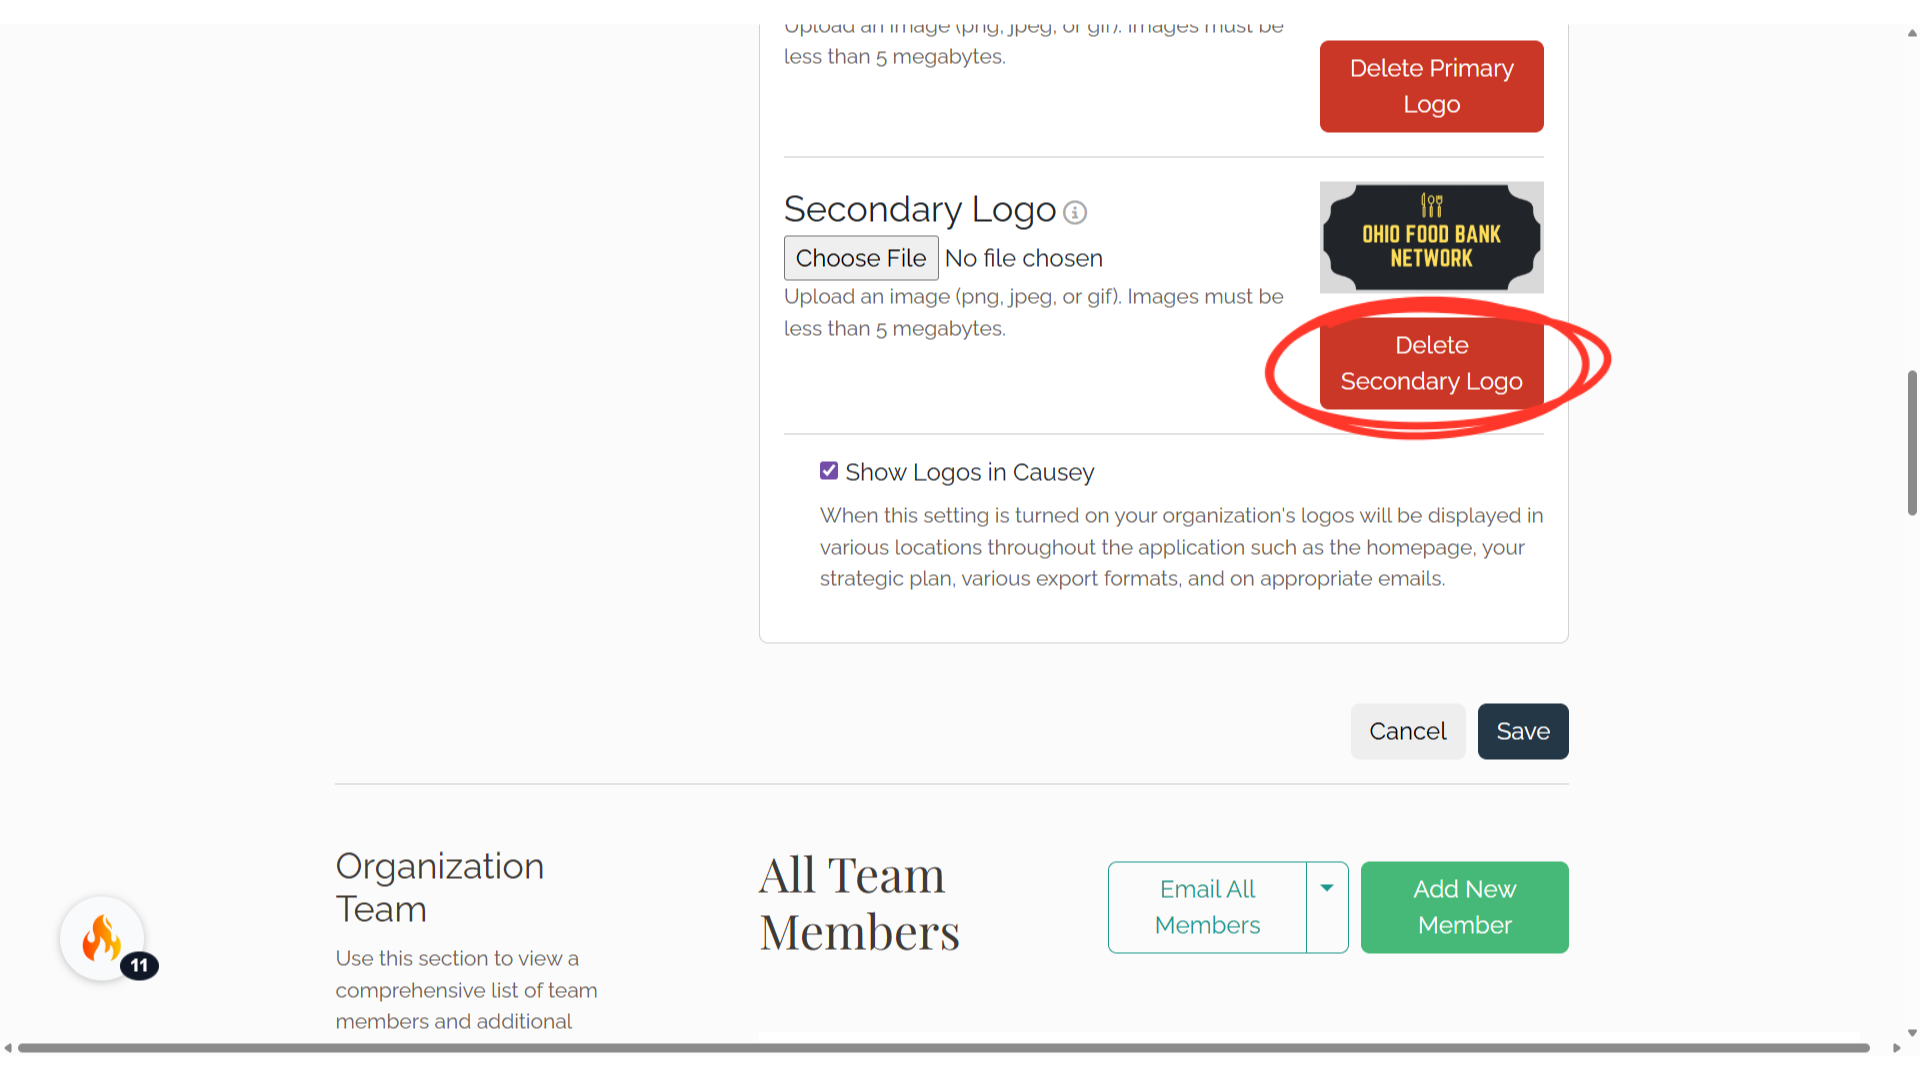
11. Delete Logo
To delete a logo, select the red delete button under the current image you wish to remove.
The guide covered navigating the Causey platform to add and manage your organization's primary and secondary logos, enabling you to customize your branding for a personalized touch.